


Corel Photo Paint allows us to use many tools; which allow us to put custom effects on text and background that are great. A widely used tool for creating effects is transparency of images using the brush tool in Photo Paint. Transparency is not limited to images; that's why today you will learn how add a transparency effect to text and borders with Corel Photo Paint.
There are ways to apply different types of transparency to an object using Corel Photo Paint. But this time we will focus on, how you can blend the effect of transparency of the text and the border?
How to add transparency effect to text with Corel Photo Paint
- After creating the text in the Corel Photo Paint program, or after having imported the file into where the text is saved (we remind you that it must have the PNG extension),
- Go to the object manager e creates a level,
- Generate a Route also in the object manager, as this function can be useful if you want to join other routes to get other results,
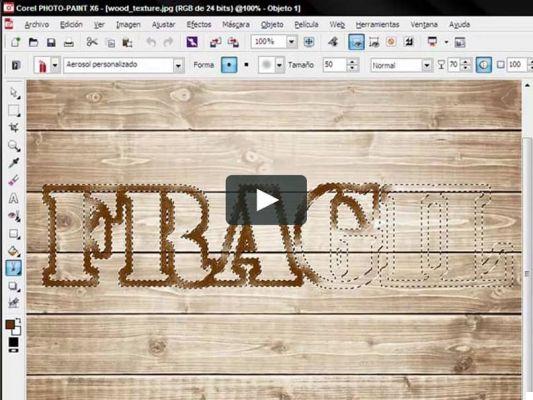
- Select it Brush tool,
- Choose a brush style in the brush property bar, the size can be adjusted with the tool Diameter in such a way that it is based on your subject or text,
- Right-click on the text and click Brush Stroke Along Path,
- Now you can disable or hide the path in the window Object Manager,
- Position yourself on the new level,
- Select the Transparency tool, then in the submenu click on the Object Transparency option,
- Select the type of Transparency, where you can choose between: uniform, with gradients, with bitmap or patterned,
- Now select the effects in the controls that are generated by any type of transparency applied,
- When finished, click Apply.
How to add transparency effect to text border with Corel Photo Paint?

- Open the file in you saved the text, or after creating the text,
- Go to the Object Manager to create a new object layer by clicking on the bottom New item,
- Then select a border color from the foreground color palette,
- Select the tool Brush, then choose a brush style in the brush property bar, the size can be adjusted according to your text with the help of the Diameter tool,
- Right-click the path, then click Brush stroke along the path,
- Now go to the object manager by clicking on the + sign,
- Here you can hide or turn off the level Route,
- Duplicate the layer to work on it,
- Go to the property bar and select the tool Transparency,
- In the tool Selector, select the type of transparency you want to add, from which you have to choose: uniform, with gradient, with bitmap or with plot,
- Controls can be applied to the border of the transparency of the foreground and the background, you can invert, rotate, flatten, increase its brightness, among other functions,
- When finished, click Apply.
How to blend the transparency effect?
You can to melt the transparency effect of text and border in a single level, but you will be able to do this once you are done with each item separately:
- Go to the item manager and click on the layer Object 1 (which can be text or border),
- Then press the CTRL key and then click on the layer Object 2 (text or border).
Remember that after applying the change to your objects, you can preview them. From now on you can create interesting mixes of effects; for example, you can create a text with a 3D effect in Photo Paint and add a nice transparency effect.
This way you will get better visual effects, with a more attractive appearance and with a more professional result. So you just have to keep practicing, learning and advancing every day in your techniques as a designer.


