


Why change a hard drive letter?
To each storage drive in Windows its own letter is assigned. By default or automatically, the system assigns the letter C to the primary hard drive (where the operating system and important programs are installed).
The rest of the letters of the alphabet are used for other disks or storage drives, internal or external (such as a pendrive).
Now, it is possible that at some point you want to change the letter assigned to the drive in Windows 10, either because you have your system to identify the components of your computer or because you may need to make a backup copy of the system so that it works in a specific place.
Steps to change a hard drive letter in Windows 10
For the reasons given above, we show you the steps for below change a hard drive letter in Windows 10. The process is essentially the same as that applied by Windows 7, with a few minor changes.
Step 1: Open the window named Computer Management of the operating system
The first thing to do is go to the section di team administration of the operating system, for this we can follow different paths.
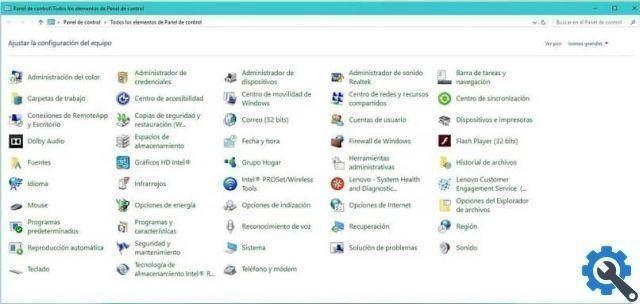
- Click the Windows Start button and type control panel, then select the option named system and security, then what you need to do is enter the admin tools section.
- In this area there are several options, the one you need to select is the one that says team management. This is where we can change the letter of the drives that interest us. Pressing it will give you access to all the available options, which includes a section called disk management, which is what we're interested in.
- Another way to log in the computer management window is shorter. To do this, right-click on the Windows icon (located at the bottom left) and then click on Disk Management (located in the computer management window).
- The other way too to access the computer management window is short. Right-click on the Equipment icon, then select the option
Step 2: Go to the Disk Management option of the Computer Management window
In this step , all units are displayed automatically Windows 10 system, indicating their letter, distribution, file system and status.

Step 3: Select the drive where the letter will be changed
Right-click the drive and select the option for change the letter and itineraries unit.
Step 4: Select the edit option in the new window
After the previous step, a new window will open in which you will have to click on the button changes.
Step 5: Select the new letter you want to assign to the drive
Another window will open where you need to choose from the context menu that displays a new drive letter. Once this is done, all you have to do is press the Accept button to validate the changes and finish the operation. Another option you have is to allocate more space to any partition, which we explain in another blog.

Considerations before changing a drive letter
Here are some tips so you don't have any problems when changing a drive letter.
- You can choose any letter of the alphabet, except those that are already in use.
- You will have to do the same process in the windows you have opened, until the new configuration is finished.
- Some programs the whose operation depends on the drive letter may stop working correctly if you change it. If so, you can repair or delete the partition.
- When you unplug the disk and plug it back in, the letter assigned to it will be permanent.
With the steps described , you already know how to change a hard drive letter in Windows 10.


