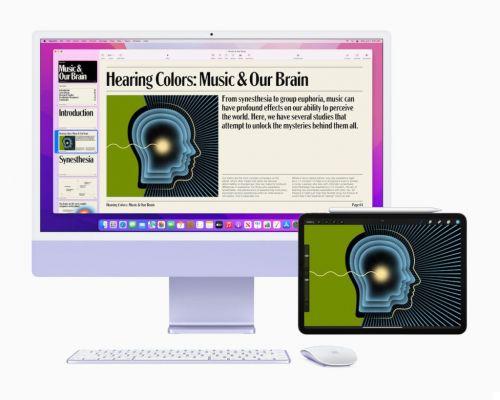
Part of what this company offers includes lines of smartphone (iPhone), tablet (iPad) e personal computer (Mac), each recognized for its excellence.
Of course, having a similar operating system, but at the same time different for each row, will make it important to know well the manipulation that should be given to each.
For example, your work may require you to spend long hours in front of a screen, and to get a proper environment you need to make some adjustments.
With this problem in mind we have come up with an article that will focus on learning how to manipulate the settings of a Mac OS X in your favor, more specifically on: "How to change or change the screen resolution in Mac OS X?".
What is Mac OS X?
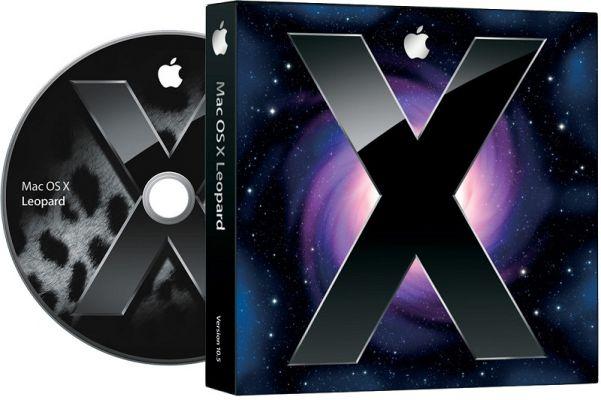
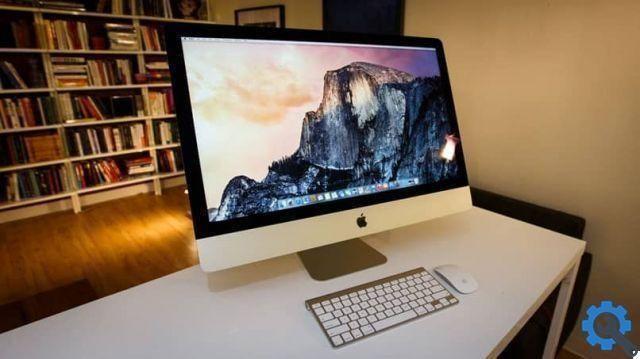
Mac OS X is an operating system used in Apple's line of Macintosh computers, including in both computers and laptops. At first it was a free and open source system which later became closed. But do you know how many versions of Apple's Mac OS exist?
It represents one of the most useful operating systems in the world after Microsoft Windows. Also, it has POSIX compatibility which is normally placed on XNU and a graphical Aqua interface.
It was launched on the market on March 24, 2001, being available in at least 34 languages such as English, Spanish, German, French, etc.
The term Mac OS X used to refer to this system changed in 2016 to Mac OS to continue the nomenclature that Apple was using when naming its other operating systems.
On the other hand, the letter "X" which you see in the name refers to 10 in Roman numerals, but it is very common that when pronounced "X" is used. But you can also learn how many versions of the Mac OS operating system there are.
How to change or change screen resolution in Mac OS X?

Initially there are only four options when it comes to the resolution of the screen di a Mac OS X, this may be a little limiting or more than enough for others.
Now if you are part of the group of people who find these options of resolution somewhat limiting, you will be happy to know that there is a way to unlock more options. At the same time, you can customize or change the background image of your MacBook desktop or screen
Of course, in order for you to know this method correctly you need to follow a very simple step by step that we will show you below.
Step 1
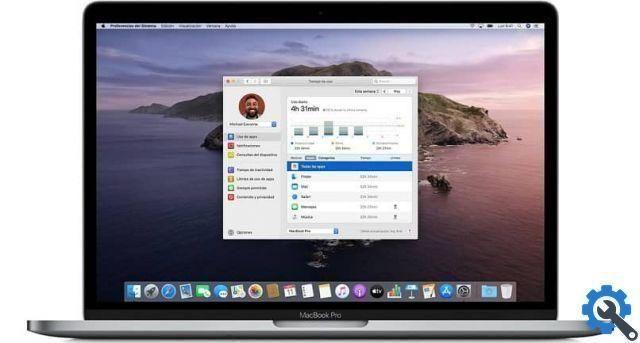
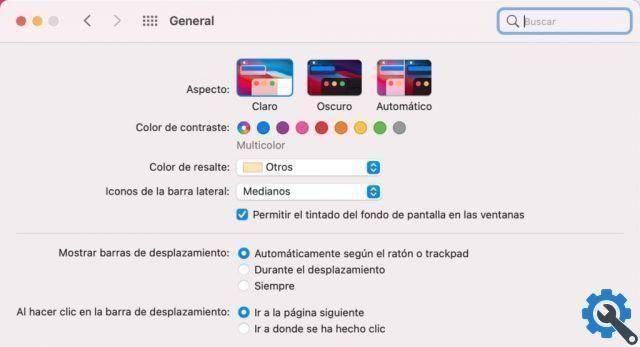
The first thing you should do is access the options that correspond to the Mac OS X screen. Then you will have to go to the section dedicated to settings which is called "System Preferences".
This is easy to recognize by its greyish gear symbol, and the location of this option varies depending on where the app bar is.
Step 2
Later in this section you will see several options, where you will find the one that belongs to the “Screen”, as it is the option of interest for this opportunity.
It will be there where you will find the parameters which during adjustment will affect changes in the way you see your Mac OS X screen such as resolution, color and night shift.
3 pass
From now on you can start the simple two-step method to get a greater variety of resolutions on your screen.
It basically involves holding down the "Option" key while simultaneously clicking on the "Adjusted" box.
It is important not to stop pressing during the selection, otherwise the goal will not be achieved. You will notice that if you meet the specifications we have given you, you will get more resolutions than before.
This will give you the opportunity to test which one meets the needs of your Mac OS X to make changes or tweaks to the screen. Similarly, you can configure the size of a Mac OSX when connecting an external display
As is logical, whenever you want to make any changes or modifications to this species, you need to repeat the process to the letter to get the same positive results.


![Apple Vice Presidents Talk About Development of M1 for Mac [Updated]](/images/posts/c6254b668e5b3884d6b6338ccb8a02ff-0.jpg)