


Storage space inside a computer is an extremely important aspect of it. Beyond the obvious fact that if you take up too much space, you won't have enough space to download new things to a computer; there is the fact that the computer also slows down due to the use of a program that takes up most of the memory, moreover it becomes less reliable as you fill it with files.
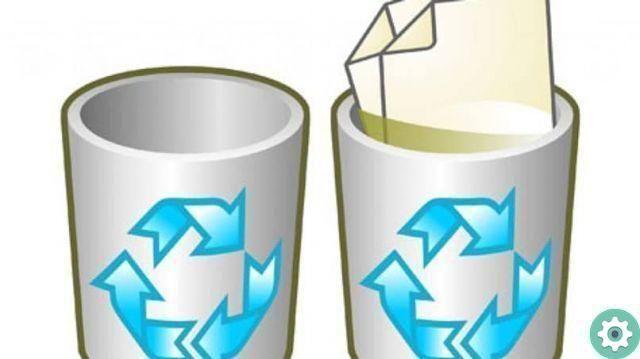
And, to be able to control it, every computer is equipped with a very effective tool: the recycle bin. Through a trash can, you can allow yourself the luxury of disposing of a large number of fillet. All these files are unusable, such as images or videos that you have downloaded that you do not use or will never be used, can go directly to the basket of recycling.
Plus, through the recycle bin you have the luxury of being able to restore what you have deleted. Many times we can accidentally delete something, but when that happens we can go to the recycle bin and restore it to its original location. At the same time, you have the option to permanently delete files from the recycle bin.
Fortunately, today's Windows system is meant for the user experience and how to make the experience much easier and more comfortable.
For this reason, the Windows Recycle Bin has also become more comfortable to use, to the point of being able to assign one to it specific space on our hard drive. That is why it is considered important that you know the size of the recycle bin on your pc.
So, if you tend to work with very large files, or just want to better manage the number of files that may or may not end up there, you can easily change the reserved space with the following tutorial.
Changing the trash space
Whether you are in Windows 7, 8, 10 or another, the process for changing the space reserved for the recycle bin is the same, and in fact very simple. In addition, it is completely reversible, so if you want to change it you always have the freedom to do so. To do this, you need to follow the following steps:
- First, you need to locate yourself in the icon of the basket. It is usually found on the system desktop, and if you don't have much knowledge, it will take the form of a small recycle bin.
- You need to point your cursor over this icon and right-click to see the different options. Among them, you will see the Properties option. Click on it.
- After that, a window will open where you can see different options related to the recycle bin. But, for now, you should make sure that you allocate the correct hard drive space in case you have several on the same computer.
- Now under this, you will see a field with multiple numbers. These numbers are the space allocated to the recycle bin in MB. You just have to click on it and edit it as you see fit. You just have to remember that each 1024 MB matches a GB. Click accept when done.
Direct file deletion
Within the same options we covered earlier, you can turn an option on whenever you want delete a file from work, this does not go to the recycle bin, but is permanently deleted.
If this is something that benefits you in any way, you just need to go back to the Recycle Bin Properties and go to the option that says " Do not move files to the Trash. Directly remove files upon deletion «.
On this option, you just have to click on the box next to it to activate it and that's it. There is no need to worry more about recycling waste and the files that are there.


