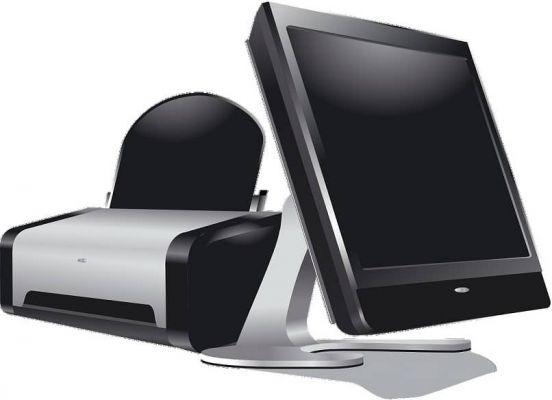
It often happens that we accidentally send files or documents to a printer that we don't want to use to print the document. It could be that the error is that the printer is not activated or that the printer is not connected; And the situation could be more complex if the printer is networked on Windows and MacOS computers.
When we are online, for example at work, it can happen to make mistakes by sending the file where we shouldn't. This can be problematic for both us and our colleagues, in which case knowing how to find a printer's IP address can help.
If we have several devices in the house, the problem is not that serious; But when we choose a printer every time we want to print a document, we waste time. It will be a hassle to send a file to print to a printer that isn't working or that we don't want.
Whatever the situation we find ourselves in, we will simply show you two ways on how to set and configure a printer as the default in Windows 10.
Set up a printer in Windows 10 with the control panel
To configure and set a printer as default in Windows 10 via Control Panel, you obviously need to access the Control Panel. To access more directly there on our keyboard we press the Home key along with the letter R..
When we execute this key combination, the Run option will appear. In the empty box we will place the words control panel or control only and click OK. A window will immediately appear showing our Control Panel.
Once logged into the Control Panel, we will locate where it says Hardware and Sound. Just under there is View devices and printers. With the left mouse button we will click there.
A window will appear in which we can see all the devices that we have added and that we can use in Windows 10. In the Printers part we can see the printers present in our system.
We identify the printer that we want to establish as default and with the right mouse button we click on it. A menu will appear in which it will appear Set as Default Printer, with the left mouse button we select that option.
And everything is ready, the next time you want to print a file, it will print with the printer that has been selected as the default. In this easy and simple way you have configured and set a printer as default using the Control Panel.
Configure and set up a printer in Windows 10 with settings
Using the Control Panel isn't the only way to set a printer as the default; There is a second way to do this and that is through Settings. To do this you must first go into configuration.

To access the settings, let's go to Start. Once there, we will select the Configuration option. There we can see a menu where the Devices option is displayed. With the left mouse button we will click there.
When we have performed the previous procedure, we will be able to see the printers and scanners we have added to our Windows 10 system. With the mouse we will scroll down and locate where it says Allow Windows to manage my default printer.
In this case we will disable the Allow Windows to manage my default printer option. And now we locate the printer we want to place as default and press there. A menu will appear in which we will choose the Manage option.
When the printer configuration appears, we will press with the left mouse button the option where it says Set as default. When we performed this last step, the printer was set as the default in Windows 10.
We have tried to be simple and practical in showing you how to set up and configure a printer in Windows 10. Keep visiting us to continue learning more about how to troubleshoot while using your computer.


