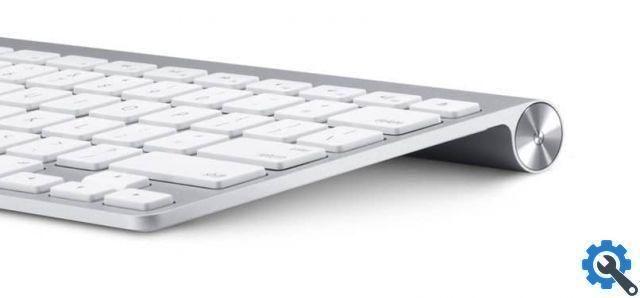
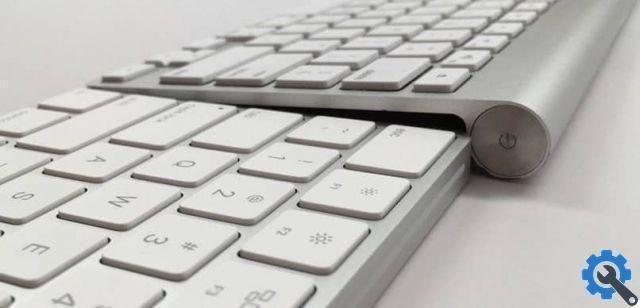
While it may seem impossible to do, the truth is that, with this type of device, you have the option of connecting a keyboard “Apple Magic” to your computer with Windows 10 operating system quickly and easily.
However, there are some users who prefer the classic keyboard, which has much more solid mechanics that make it easier to use their personal computers, and also many people constantly use the virtual keyboard of this operating system for different tasks. opt for wireless models, get greater stability and much more practical tools.
How can I use Apple peripherals on a Windows 10 computer?
The wonder of this is that you can use the peripherals, better known as one of the accessories of the Apple brand and configure them correctly, for them to work in Windows 10.
You need to make sure the wireless keyboard is charged when you connect it to the PC, if your keyboard model is an older version, you need to make sure the alkaline batteries are in good condition.
Likewise, it is important that before carrying out such an installation, you take into account all the necessary requirements to be able to perform the installation correctly.
Activating the keyboard on your Windows 10 computer with the "Bluetooth" option
To get started, you need to start by clicking on the Start button, which you will find in the taskbar, right at the bottom left. Next, you need to click on the option "Configuration", since it is there, where you can check in the Control panel, the standard configuration type of the equipment, as well as accessing the network configuration.
Also, there you can find some of the account information, security and even privacy. To do this, click on the option "Devices", which it can also be located as "Bluetooth, mouse, printers" after locating it, these steps will be followed:
- Once in the panel "Devices", click the option "Bluetooth" on the left side of the screen. You will see in the center of the screen that will say "Manage Bluetooth devices", under that title, you have to make sure that the slide button of this is on "On" and is ticked in blue.
- After the scroll button is “On”, a text should appear that says " Your PC is searching and can be discovered by Bluetooth devices ". Below is a list of Bluetooth devices that will be available for pairing peripherals.
- Now you will click on the option that says “MagicKeyboard” or also " Apple Wireless Keyboard “, Although this will depend on the keyboard model you have, so you have to click on the gray button "Pair".
- You will see that the pop-up window will appear which will show the passcode, this is during the setup of both types of wireless keyboard Apple. If the model is old, you will simply have to type the code on the screen and press the key Enter / Enter on the keyboard.
With the new model of “Apple MagicKeyboard” it is likely that there will be a confusion in the operating system, to correct this, Windows 10 will read the keyboard separately, to which it will present a code in the window and the following text: " Compare access codes ". So it will be sufficient to buy the text on the screen, and click on "YES" and the configuration will be completed.
To stop using this device, disconnecting is simple, just click on the name of the keyboard and then on the "Remove device" button and when the confirmation message appears it will be accepted, thus ending the use of the keyboard.


