


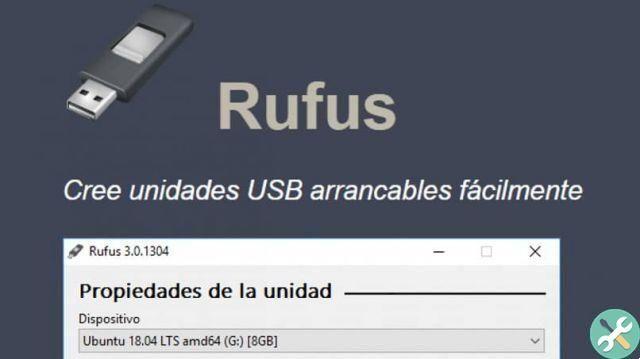
For this task, we will use the Rufus tool. Which is considered to be one of the best programs for this purpose, it is also Multilingual and completely free for all users of the world. It has become an excellent default tool for many users looking for an application to create with bootable USB drives.
What are the tools you will need
- To get started, you need to have the Rufus software installed on your mobile device. You can find a download website for this tool by doing a little web search.
- This tutorial will teach you how to use it to use it with a USB from 8 GB of capacity which is the most recommended for this task.
- An image ISO of the operating system we want to install. In our example, an ISO image will be used Windows 10 November Update.
Bootable USB creation process
Within this tutorial, we will be based on installing a USB Windows 10 PRO Build 1511 (64-Bit) on a computer that has a BIOS and which in turn has boot mode enabled just for UEFI and Legacy support, and likewise Secure Boot disabled.
Likewise, it is important to say that the installation we will perform will be del "Partition type" MBR, not GPT. However, these options are variable, as long as the user's taste decides. To get started, you need to have unity USB connected to your PC in advance, so that the Rufus tool can detect it.
Once this is ready, we will proceed to run the EXE file Rufus application, if possible, it is recommended to do it by admin action and once ready, we can see that a startup window opens.
Once this point is reached, we need to establish several options, which in one way or another will define the process that will be performed. You have to choose between the following settings:
- Device: choose the correct USB drive to use
- Partition type and target system: Due to the configuration in BIOS, which we have exposed in our example, we have to choose the option: MBR partition type for BIOS or UEFI.
- File system: NTFS
- Cluster size: Leave the default option.
- New label: leave it as it is, choosing the ISO this field will be filled in automatically.
Once all the above steps have been completed, we need to click on the button "Start" in so that the process begins. We can see that a small notice will appear here, which will indicate that all the data that is inside dell’USB will be permanently deleted to start this process.
It is important that at this point, we hope that the process of deleting and copying these files culminates. Depending on the PC and the speed at which it writes, the process can take anywhere from 15 to 25 minutes.
TagsTutorial PC


