Mac users were also not excluded as they can upload photos and videos to Instagram from Mac as well using Google Chrome. Which indicates that this social network is here to stay.
Not only that, thanks to its constant innovation you can share a Tweet on your Instagram Stories. Yes, you read that right, a tweet from Twitter. And now you can also create a beautiful photo mosaic.
This is possible on Instagram, because it presents photos in a standard way. With the mosaic the original photo is divided into exact squares to be rebuilt in the profile with the separate pieces.
How does Instagram position photos on tiles?
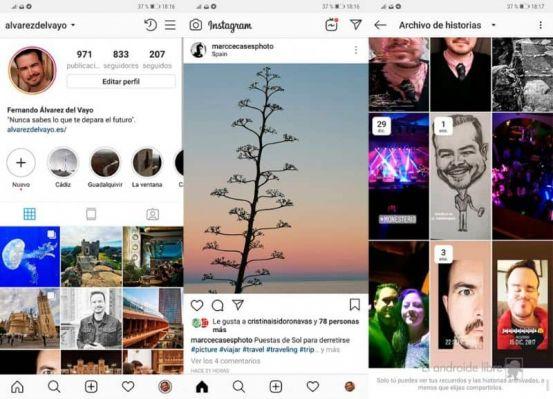
Instagram uses square images and presents them to you in groups of photo 3 by 3 on the horizontal plane. Therefore, your profile is divided into 3 perfect squares for each row, adding a total of 9 photos distributed in a 3 × 3 matrix.
The Instagram tiles can also be made manually using Photoshop; But as we have already said, there are many applications on the market that facilitate this process.

Some of the applications to create photo mosaics on Instagram
- Tile Pic: Free application available for iOS which allows you to divide the photos into blocks and then upload them to Instagram to create your mosaic.
- Pic Splitter: Tool for IOS and Android that in addition to creating the mosaic of your Instagram photos, allows you to select background colors for those empty spaces.
- Grids for Instagram: Application also free and from use on android devices.
- Instagrid for Instagram: In Instagram the images to create the mosaic are usually square, but now that changes with this application; select the photo you want in your profile and its appearance; that is, whether it is 3 × 3 or 3 × 1, including 3 × 4.
How to create mosaics or banners on my Instagram profile from photo fragments?
We will create the mosaic with the Instagrid application and the first thing to do is download it from Google Play; once installed, click on the icon to access the gallery.
Now select the photo for the mosaic, then the interface will show a small grid in the central part of the screen of 3 squares in horizontal.
At the bottom of the screen in "Cutout Mode", there are 5 alternatives to split the mosaic, choose the option you are interested in. In this case, we'll take the traditional 3 × 3; the 9 squares immediately appear.
You can also see the 4 white dots on the grid, to change its size. Then click on «OK»; So yes observe 9 squares with the numbering of each frame for loading.
Since it is a 3 × 3 model; You should start at the bottom right and so on until you reach the last row on the top left. That is, following the order they showed us.
Once completed click on «SAVE ON SDCARD»; in this way the mosaic is saved and then another click on “SAVE”; to store it on our Android device.
Let's go to Instagram and open the profile, for see if we have the publications in the last row 3 photos horizontally; If you are missing any, you need to fill that space with another photo.
Now they must begin to load, each of the fragments of the elaborate mosaic, in the established order ; Finally, the profile is checked again that everything is correct.
To conclude, we can see that the creation of a mosaic or a banner through these applications is achieved quickly and easily; Best of all, most are free.
TagsInstagram


