


Editing using the latest Corel program enables the creating images with different effects from a single photo or image. User can add or remove objects, crop objects using the mask tool, rotate the image, add filters, blur the background, give a sharper touch, add outlines to objects, provide warmth, shadows, brightness, change the colors of the image, lighting and a myriad of effects that allow you to obtain a complete digital work of art.
How to create a photo mosaic with a single image with Corel Photo Paint?
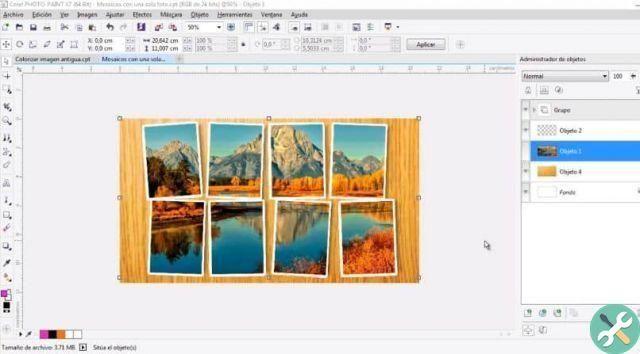
Among the tools of Corel Photo Paint we can find one known as Mosaic. In general terms, it is the composing an image through the addition of various objects or materials.
The editing program allows you to create a mosaic of images. Basically, the user select the amount of images that he wishes to incorporate into the painting and adds them to create figures or simply to position them strategically.
This method is known as Photo Cocktail and is performed by creating a mosaic from bitmap. The end result is a harmonious image with a different twist. The process of creating a mosaic of images is not complex once you learn how to use the tools in Corel Photo Paint.
Steps to mosaic photos with a single image with Corel Photo Paint
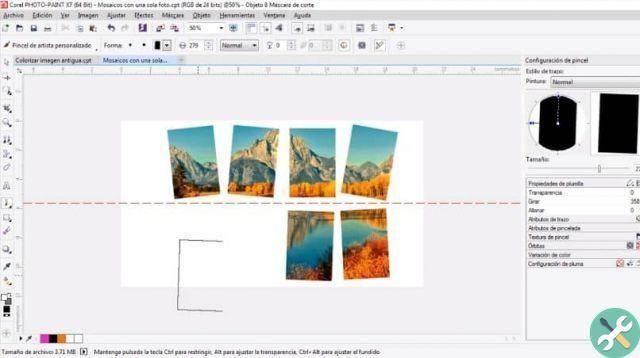
The first step is select the number of cards or photos and the measures they will have. You need to increase or decrease the size of the photos by the amount you want to embed so that they fit into the mosaic.
If you are using a single image, you can create a mosaic with a single bitmap or a range of bitmap mosaic if there are more than one. Taking this into account, the procedure consists of the following:
- Click the tool of the bar and select the option Photo Cocktail.
- By clicking on this option you will find a menu in which you have to select «Explore» and then mark the split "Bookshelf".
- Once this step is done, select the images to use and click Create folder.
- The program is responsible for embedding the images and indicating whether or not they fit the measurements provided. If not, you will have to reduce the size.
- Select the desired settings (vertical, horizontal, distance and organization orientation).
- you can add black and gray blur effects or arrange the colors according to your tastes.
- Finally, click OK.
Applying effects to create tiles in Corel Photo Paint
- Grid density: Select the orientation, in columns or rows.
- In column allows you to select the number of columns in the tiles. The higher the number, the more details will be integrated into the table.
- In lines It allows apply the number of rows arranged for the table. This value is proportional to the previous column selection.
- Mix: the mix option allows you to choose in which proportion the colors of reference of the mosaic in general will be mixed together with the colors of the photographs or images to be integrated.
- Duplicates: allows you to integrate the same or the same images in the Mosaic box.
- output: Adjusts the quality and composition of the final image.
- Bordi: this option can be applied at will by the user to add more definition to the edges of the mosaic.
There are many other options for customize the Mosaic pane, including filters, applying blurs, highlighting some images with horizontal and vertical shadows and an infinity of possibilities that allow the final result to be a unique and personal image.
EtiquetasCorel Photo Paint


