Mobile phones have become more than just devices for calling and texting. For many users, smartphones are also consumer devices for multimedia content such as series and movies on Netflix, to enjoy the many video games found in the Google application store and for many others, they are their office where they manage all their work thanks to productivity applications, among which it stands out as it cannot be otherwise, tools like Gmail.
But we have to keep one thing in mind. On many occasions and especially when dealing with customers it is essential to keep the shape and give a sense of seriousness. When it comes to sending emails, the most recommended and what we always look for is to show a professional look, so signing is essential. The signature - which comes out automatically every time we send or receive a message - can say a lot about us and our work, so taking a few minutes to write it is always important.
The problem arises when we are out of the office or simply, being away from the computer we usually work with, we have to send a message with our smartphone. Having “Sent from my iPhone” or “Sent from Gmail” as a signature is not something very professional, so you also need to have a signature ready in our mobile mail application. Don't know how to do it in Gmail for Android? Do not worry, following these simple in a couple of minutes we will have it configured and ready to use.
How to create an email signature in Gmail for mobile
Creating and setting up a signature for the Gmail app on Android couldn't be easier. We chose Gmail not only because it is Android's default email app, but also because it is one of the most popular and used tools. First and of course, we have to go to the Play Store and install it in case we haven't already done so. Once you have entered our email address and configured correctly, we just have to follow these simple steps:
- apri l’app Gmail
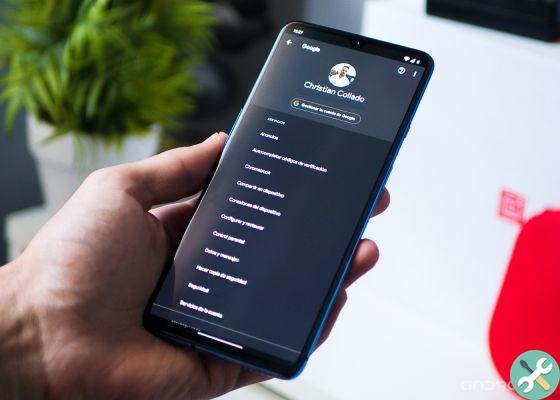
- Vai everyone settings application
- Select account e-mail
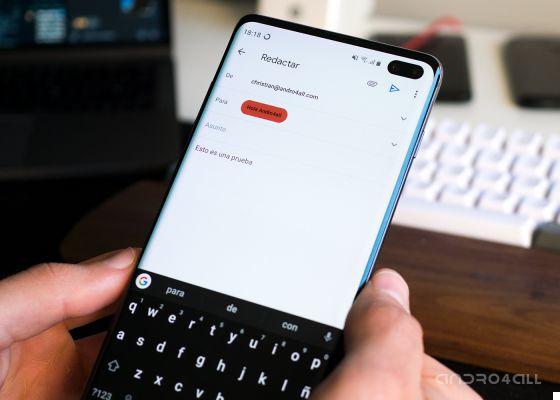
- Select "Mobile signature"
- Inserisci the desired text
And this is all. In this way so easy, simple and above all fast, we will already have our professional signature configured on the mobile and ready to be used whenever we want to send an email from the Gmail app on Android, so no one will really know if we have sent an email from work lying on the sofa while enjoying a good movie or if we have written it from our office computer .
On the other hand we have explained how to create the signature from Gmail, but the steps to follow are practically the same if we use any other mail app, like Microsoft's Outlook. It all comes down to launching the application, going to settings, selecting our email account and clicking on the signature section.