


Within the world of graphic design, have the skills and tools to create and design were fundamental elements to perform in this field. This is where the importance of the developers who have made a great contribution lies.
In this sense, Adobe and Corel have been pioneers in creating platforms for people who engage in the world of digital content design through their respective programs. They both designed really cool interfaces with cool tools.
A CorelDRAW review
However, this time around you will be able to learn more about tools of CorelDRAW, one of the ideal programs for creating this type of content thanks to its vast arsenal of tools.
The tool of the target
This tool, one of the classics of this program, gives you the ability to make or perform a series of adjustments to a specific section or area of the image.
Through it you can apply filter effects, distortion, duplication, inversion and any other type of option offered by CorelDRAW, but this time you will learn how to cut the background of an image using the lens tool.
Image selection
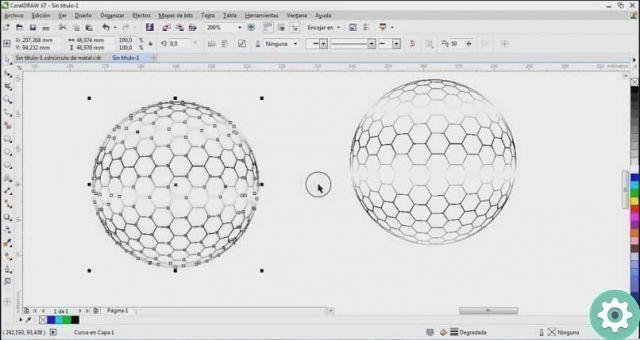
If what you want take is an extract of the total image to create a drawing, this tool is ideal for you. This way, you can crop without unwanted changes in the original image.
- Insert the image into the CorelDRAW sheet.
- Make the necessary adjustments to the image so that the object to be extracted has ideal brightness tones as well as an optimal level of sharpness and does not extract a pixelated image.
- Use a shape tool to be able to select the object you want to extract from the image. In this case, you can use the pen tool to draw the outline of the silhouette you want to extract, ignoring the background.
Test the lens effect
Once the outline is selected, it's time to enter the function » lens ". To do this, you can press the Alt and F3 keys, or you can also go to the "effects" tab and click on the "slow" option. This will open the dockable menu for this tool to determine the action you want to take.
- Choose the effect you want to apply to the selected shape. In this case, you could use the glow effect.
- Use the selection tool to be able to move the outline of the selected silhouette. Once done, you can visualize how the original silhouette stays in place, while the figure you selected appears as a bright shadow.
Final steps
After knowing how this tool works, all that remains is to follow a series of simple steps to be able to finish cropping the image. To do this, it is advisable to remove the outline of the selected figure or object.
You can also reduce the zoom percentage on the sheet, matter of which you can move the figure or object out of the sheet and you can visualize it well.
- In the target tool settings panel, check the locked boxes and the remove face box.
- Select and move the figure to an area outside the sheet containing the main photograph.
- You will be able to see how the figure or object you chose from the original image was successfully cut.
Keep exploring
This tool it is excellent for ignore the background that keeps the original image on the figure or object you want to extract from it, as well as to apply the different effects and filters offered by CorelDRAW.
That's why you shouldn't stop practicing to know and perfect the skills you can have in running this amazing program and making your projects something truly original.


