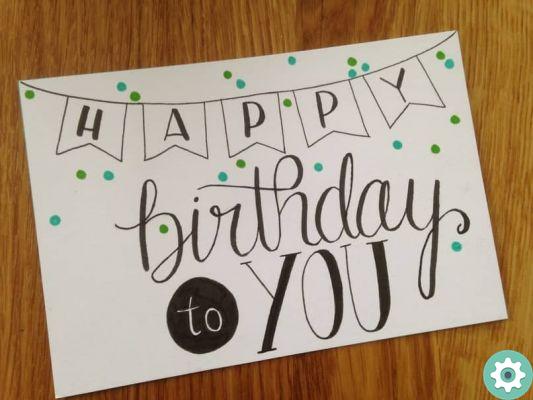
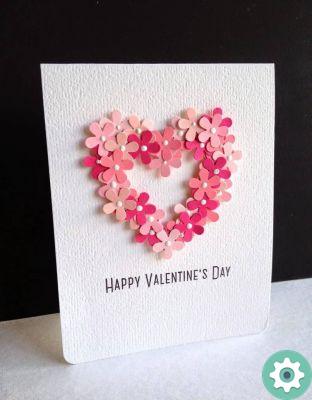
On this occasion we will teach you how to design and make a folded greeting card in just a few steps using Adobe Illustrator to be able to use them on special occasions, to send them to whoever you want, printed or simply sent via email. If you haven't downloaded this program, you can create custom cards in Canva for free.
On the web we can find editable and preformed greeting cards to make something beautiful, but in this step by step we will make it easy for you to design a greeting card like a pro and customize tickets to your liking, perhaps adding a photograph or graphic that differentiates your greeting card from those we would find on the Internet.

How to make a folded greeting card using Adobe Illustrator?
With this step by step you can create a folded greeting card to share with your friends and relatives in a simple, fast and personalized way.
- Enter in Adobe Illustrator and then select the menu «File> New». If you don't have this program yet, you can download Adobe Illustrator from its official website.
- We put the title we want for the card and then in the option «Number of work tables» we will place «2» and in the section «Spacing» we will place «1», then we will go to the «Units» section and change it to centimeters.
- The orientation must be horizontal and that can only be changed when we create the document, in the option "Raster Effects" we need to place the option "medium or high" as the resolution will depend on this at the time of printing.
- When we click on accept we will create the new document which will visually have two sheets, each of which will be part of our tab.
- The sheet on the left will be the one on which we will make the outer part of the cardboard and the sheet on the right will be the one on which we will make the inner part.
- In the «Levels» tab we will create the first one with the name "Cap", then with the «Rectangle» tool we will divide the cap in half.
- With the tool "Transform" we will modify the width of the rectangle, if we use the print and the sheet will be of A4 format we will add in the "Width" section the result of dividing the total size of our A4 sheet and in the "Height" section we will place the measure of our sheet.
- We will go to the "Align" option and make sure this option is checked "Align with the worktop" and there we will modify the alignment to the right.
- So we can start changing our card background either by adding an Adobe Illustrator default background or maybe with an already designed image.
- In this way we will make the design of our card as we wish, remember that you are working on the cover of the card and then we will make those divisions.
- In the second work table, say the one on the right should be oriented so that it is the one that contains the internal text of our card. To do this, we need to go to it and place the desired images and text, taking into account that we will not divide in two here.
- Once our card design is ready, we can save it and print it or just choose a suitable format to email.

Consider:
In Adobe Illustrator it's possible make cards of different formats, as card a single layer or animated if you want to learn how create animations in Adobe Illustrator I invite you to see their stages at Miracomosehace.com as here you will find most of the information to answer your questions on how to get the most out of Adobe Illustrator.
Adobe Illustrator is available for free use for 7 days and from there you will need to purchase a subscription, it can be installed on Windows and Mac OS with access to subscriptions from both operating systems and portable devices.


