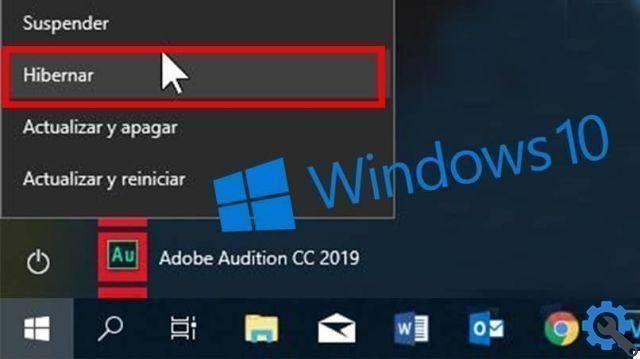
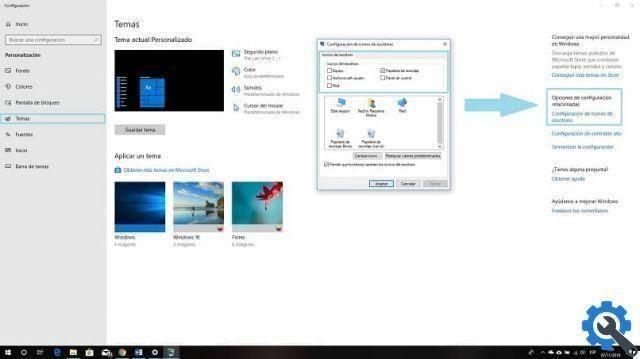
It is important to remember that this system can be used on smartphones, PCs, Xboxes and tablets. Furthermore, this operating system provides an interface Windows updated which focuses on the start menu and creates an intuitive experience for users from there.
Find out how to disable automatic folder organization
This operating system is the newest and most highly organized, which is why it brings automatic folder organization. But for many users this option isn't their preference, because they don't like having their files organized automatically if they don't prefer to keep control and do it manually.
For this reason, below we will explain the steps to follow to disable automatic folder organization in Windows 10.
Steps to disable automatic folder organization
First you need to go to the menu, write the word "Run" and this program automatically opens a window where the “regedit” command should be placed. These records can be edited if you wish.

Then you have to navigate in the left panel until you find the following path or address: HKEY_CURRENT_USER Software Clases Configuration localSoftware Microsoft WindowsShell.

Once located, you need to delete the Bags subkey and return to the left panel until you find the path: HKEY_CURRENT_USER Software Microsoft WindowsShell, the subkey must also be deleted.
So you need to locate it in another path, which is: HKEY_CURRENT_USER Software Microsoft WindowsShell NoRoam, And delete the subkey Next, when you do this process in the three folders, the registry editor must be closed.
Then you have to open the start menu and click on the restart option, so that the changes are made. Also, you need to download disable-auto-arrange.zip and extract the files from it.
Then run the disableautoarrange.re program to add it to the registry. Once this process is done, you need to open your PC and close it. Finally you have to restart Windows Explorer.
Once all steps have been completed successfully, automatic organization should be turned off. This way you can freely organize your folders with corresponding files.
Method 2 to disable automatic organization
It should be noted that the Windows 10 explorer it does not allow users to change folders, move them or customize them. Therefore, if you try to move a folder from one site to another by organization or to better structure your files, the same system will bring them back to the site of origin.
In turn, the system itself does not offer an option to disable this configuration, which is why the process must be run from the Windows registry itself, in this section you need to make some changes.
Likewise, it is important to note that the user must first create a backup copy of the registry in case any step goes wrong or a mistake is made. This will back up your data and everything will be as it was before the changes.
Similarly, you can turn off automatic organization by downloading a .bat file. You can download it via this link, it contains the instructions that must be followed in order to make changes to the Windows registry.
Once downloaded, you need to unzip the file and double click on the file Disable-Auto-Arrange.bat. This will automatically implement changes in the Windows registry in order to disable automatic folder organization.
We hope this article was helpful to you. We'd love to hear from you. Have you been able to disable automatic folder organization in Windows 10? Do you know of another method that allows you to perform this action? Leave us your answers in the comments.


