


If every time you want to enter the Windows 10 start menu it takes a long time to open and works very slowly, it could be the fault of the animations present inside it. To avoid this delay, you can disable windows 10 start menu tile animations simply how to make Windows 10 case sensitive.
The latest Windows update made changes to the OS's classic boot menu. This now has a number of animations that, yes, can render it more attractive and amazing, but on less powerful computers they generate delays which can get quite annoying.
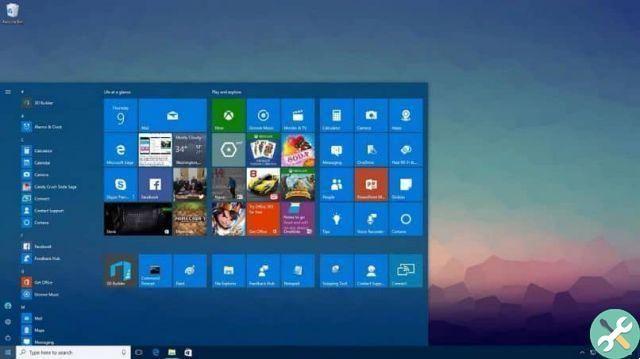
Start menu in Windows 10
From the inception of Windows, the start menu was mostly classic, quite understated as it put functionality over aesthetics. However, this wasn't a big deal.
With the different versions of Microsoft's Windows operating system that exist, many changes and options have been added. You can also use the best free gadgets and applications for the Windows 10 desktop.
With version 8 of Windows , this has completely changed. It was one of the most hated by users, and not really because of the new interface. With this update, Microsoft's operating system had completely eliminated access to the boot menu, a change that didn't get the welcome they expected.
The developers, realizing this error, made the necessary changes with the launch of Windows 10, where they brought together the best of versions 7 and 8. A more classic interface but much more aesthetic than the previous ones.
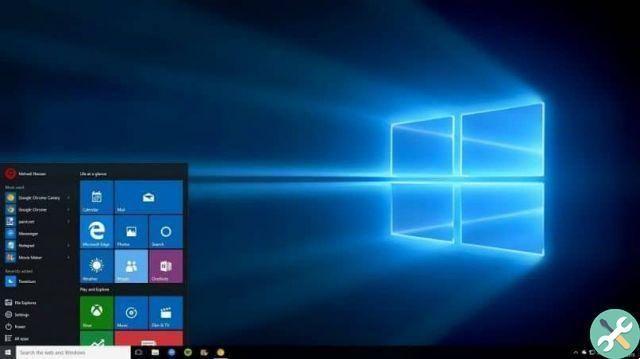
One of the most significant changes was the start menu. To this they have added many more functions and a new aesthetic that has a series of animations that make the applications presented here more attractive.
However, depending on the power of your computer, this can cause problems loading the boot menu, significantly delaying the execution time. Therefore, disabling tile animations in the Windows 10 start menu can be quite useful.
Disable Windows 10 Start Menu tile animations individually
There are two ways to disable Windows 10 Start Menu tile animations. The first is do it individually. For this you just have to enter the Windows 10 start menu, when the loading is complete, right-click on the Live Tile you want to deactivate.
After performing this action, a context menu will appear where you need to click on the option " Other "And then select the option " Disable dynamic icon ". After you do this, the Live Tile will automatically stop moving to become a static image.
You can do it as many times as needed, but if you want to do it all at once, it's best to use the second method. Disable Windows 10 Start Menu tile animations at the same time
If you want to disable all animations at the same time, you will need to do this from the Windows registry. To make this change, the first thing you need to do is, in the window " Run ", Type the command" REGISTERED "And press the" Submit ". This will take you to the Windows 10 registry, where you will need to locate the path:
HKEY_CURRENT_USERSoftwareMicrosoft WindowsCurrentVersionPushNotifications. There you should see if the value " NoTileApplicationNotification " exists. If not, you'll have to create it yourself. For this you need to click on " New "And then on" Valore DWORD a 32 bit”.
You will call this new value " NoTileApplicationNotification ". Similarly, it is necessary to designate the value 1 in hexadecimal. To finally disable Windows 10 Start Menu tile animations, you just need to restart your computer for the changes to take effect.


