How to disable UAC User Account Control in Windows 10?
Il user account control or UAC it can be an effective function when multiple people are using the same computer. This component enables computer administration from program access and is available in the Windows operating system (XP, 7, 8 and 10).
Here is all the information you need to know about how UAC works and a procedure for disable this function on Windows 10.
What is UAC User Account Control?
UAC User Account Control is an element that seeks to increase the security of your computer and is part of the work operating Windows. This component allows users to perform common tasks such as "administrator" or "guest" and does not require a session switch.
How to disable UAC User Account Control in Windows 10?" src="/images/posts/cabbe93629c826f4669957da31599f02-0.jpg">
How does UAC User Account Control work?
Il UAC user account control runs when you want to install an application on Windows. Immediately, this component detects the program settings and displays a user consent window to validate the installation process. Once the activity is complete, you do not need to provide credentials or consent.
The consent window
Whenever you want to open or install a program, UAC User Account Control will show you the following message "Do you want to allow this program to make changes to your computer?" and “Click Yes to continue with the started task”.
The consent window can be uncomfortable especially for administrative users who do not need a " login confirmation ". For this reason, we recommend that you turn off UAC User Account Control if this feature is not essential in computer administration.
Disadvantages of UAC UAC
One of the disadvantages of UAC User Account Control is related to the pop-up window of this function. In this sense, when a user wants to install a system update or change some settings, he is limited as he cannot click on some system buttons.
This occurs because the User Account Control pop-up window is hidden behind the main window, causing problems when interacting with the interface. For this reason it is advisable to access the Windows 10 control panel and make a number of configuration changes.
How to disable UAC User Account Control in Windows 10?" src="/images/posts/cabbe93629c826f4669957da31599f02-1.jpg">
Steps to disable UAC User Account Control in Windows 10
Initially, you need to go to the "Control Panel" which is located in the Windows 10 start menu. Also, you can take advantage of the “Cortana” tool to allow you to search for the panel.
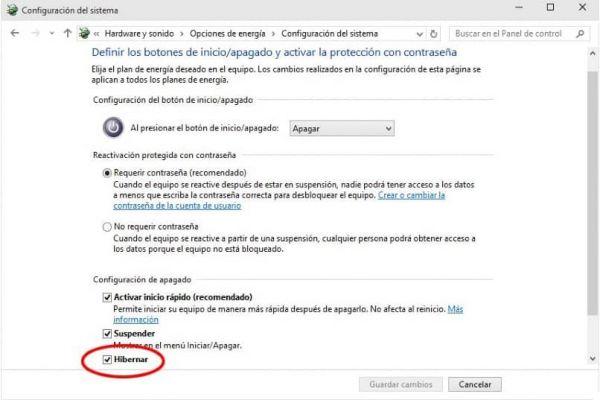
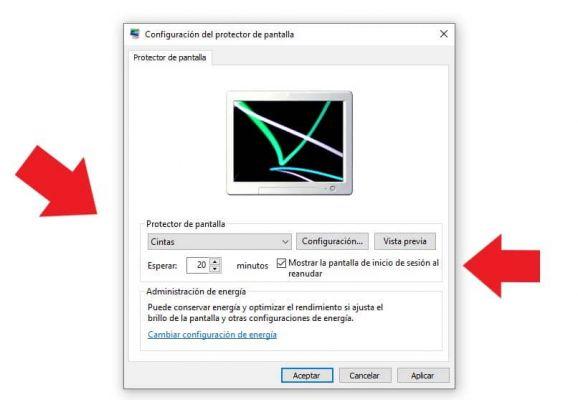
In Control Panel, locate the "User Accounts" section. There, select the “Change User Account Control Settings” option. Immediately, you can reduce the level to the minimum "Never warn me". Finally, click the "OK" button.
Set up User Account Control
When you click the "OK" button, you will be able to see a pop-up window referring to User Account Control. In this interface you can edit the operating system configuration and select some buttons and then choose whether or not to run certain applications.
On the other hand, if multiple users are using the computer, remember that you can also share files and folders between user accounts on the computer, but this goes beyond the UAC aspects we have mentioned.