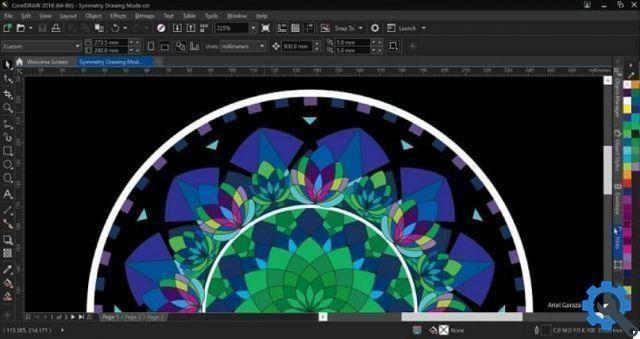
It is sometimes difficult for us to imagine that there are graphic design editing programs that have the versatility of Corel Draw. We have already seen the different effects and functions that we can perform with it in a short time. But now we will show you an interesting tool and teach you how to create interactive vector pattern fills and textures with Corel Draw.
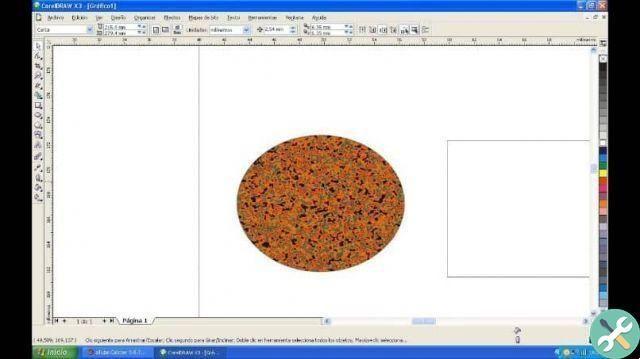
Although we have already seen amazing effects that can be done with this application, such as creating the glass effect on different objects. In the following tutorial we will show you the steps you need to follow in order to use this useful tool in the its entirety. Then we'll teach you how to do interactive vector pattern fills and textures with Corel Draw.
How to make interactive vector pattern fills and textures with Corel Draw
To use this tool and we can create an interactive fill of vector patterns and textures with Corel Draw. We will go to the left side panel, where the smart fill tool menu is located and select the interactive paint tool. When clicked, several options will first appear on the property bar, Uniform fill.
Secondly, the gradient fill, but then we will have three more buttons, which contain the options that we will use in this tutorial. With these, we can add a fill to the object, with a vector pattern or with a bitmap pattern. But we can also add a pattern with two colors.
If we hover over the pattern option with two fills and click the left mouse button, we will find two more options. These are Textured Fill e postscript Fill, now if we want to use the vector pattern fill tool. What we need to do is select it and then create a clip in the fill picker.
In this way, different categories will be displayed and we will choose the one that best suits us or our project. Then we have to click on any of the mosaics that are shown to us and finally we click on Apply. After this we will see in our image the fill we have selected and the handles.
With them we can change the direction, position and size of the tiles, this can be done simply by dragging the mouse in or out or rotating in any direction. We can also use the Mirror horizontally or Mirror vertically pane on the buttons found in the property bar.
Using and configuring different options for interactive vector pattern and texture filling
We will also find a button that is in all options and concerns Edit Fill. When you choose it by clicking, a window will open in which you can make various settings. Here you can change the inclination, the displacement and see from the preview how the mosaic will look, so in fact for the changes you have to click OK.
Another cool option is the two color fill pattern, by selecting it you will be able to choose a pattern from the fill picker. And you'll use it the same way you do with the Vector Pattern Fill. The only difference is that you can choose the foreground and background colors.
Remember that in this option the two-color fill pattern, when you right click, you will find the texture fill option. Where you can choose between different categories and between them different textures. And you'll make the adjustment the same way you did with the other fill options.
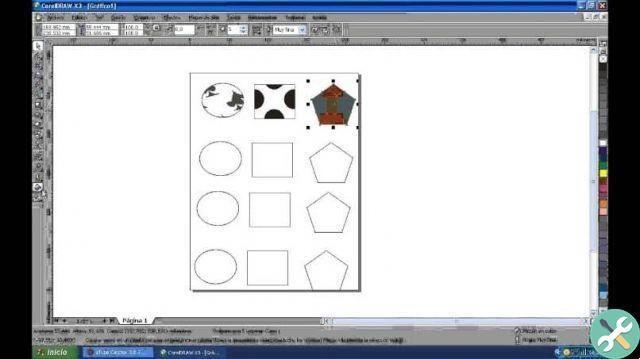
The options shown in the Edit Fill button may be slightly different, but in essence they are very similar and easy to apply to your image. And in this way we have completed this simple but interesting article. He was able to show you how to use this useful tool and teach you how to create interactive vector pattern fills and textures with Corel Draw.
EtiquetasCorel Draw

