To solve this problem, it is possible that we are faced with various tasks, with which we can make this task much easier, safer and more practical, since it involves connecting two computers in a local network via Ethernet.
Which will allow you to initiate a connection stable and reliable, for which, however, it is necessary to have some kind of prior knowledge for this communication between equipment to be optimal. Next, it will be explained in a practical way how this connectivity can be done to establish the local data transfer network.

The type of cable to use for the Ethernet connection
First of all, the ideal type of cable for it is the crossed cable, which allows you to connect the transmission signal from the transmitter to the PC, which will be the one indicated for receiving the signal, this being the main one. receiver of information.
Now, this crossover cable is used to connect devices directly, as in the case of two PCs they have respectively Ubuntu e Windows. This way you will use the crossover cable as a server to transmit data between computers at an acceptable speed and without interruption.

How should a correct connection be made?
After being aware of the cable that will be used to do this connection, you need to connect the network cards of both computers to continue with the configuration.
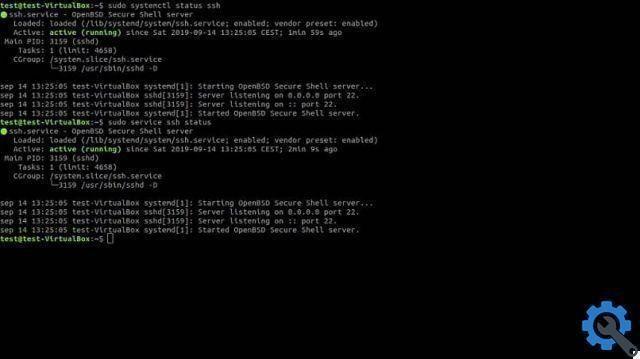
Next we have to use the equipment that the Ubuntu system has, which will act as a server; This will manually configure the IP address of the equipment so that both computers have the ability to communicate with each other.
Now, after connecting both computers via the crossover cable, the configuration will be done so that you can start the data transmission, from the Ubuntu system:
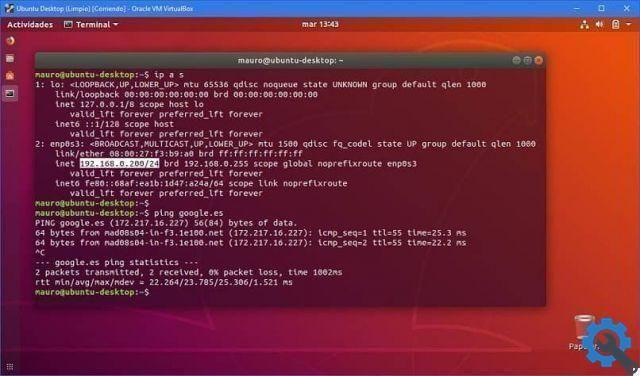
- Press i keys " CTRL + ALT + F1 ”To open the terminal on your computer desktop to initiate communication.
- Type the command " sudo ifconfig eth0 192.162.1.2 netmask 255.255.225.0 up ”And proceed by pressing the“ Enter ”key.
- Then the system will ask you to enter a password to start and press “Enter” to continue with the setup procedure.
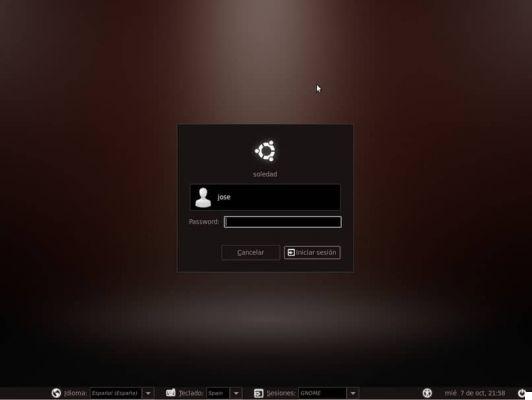
- After carrying out the above processes, press the following keys " CTRL + ALT + F7 ”To return to the graphical interface and check the connection.
So now, having the practical guide to establish connection with Ubuntu and perform data transmission to Windows. Now we will discuss how to establish this same connection but with the variant that both PCs have Windows operating systems:
- Go to the tray "Start" on the desktop and type the following "netcpl.cpl" in the search field and press "Enter".
- A window with the search result will appear with the following option “Local network connection” and now go to the “Properties” option of the equipment. In the pop-up window, locate the “TCP / IP V4” option and it will go to the “Properties” to continue with the configuration.
- Now, in this option you will make the change of “IP” to establish the connection by entering; 192.168.1.1 in the field where it is called "IP address".
- Finally, go to the "Subnet mask" field which will be completed automatically and after completing all these steps, do click su "OK" to start local network communication.
By summarizing the above steps, it is easy to make this kind of local network connections with both operating systems to share data by following this step.