


Computer compatibility has been a major obstacle between computer operating systems and mobile devices. It is somewhat annoying to buy a device for your home kit and one that cannot be connected to your smartphone, for example. This is why it is important to know how to easily install and add devices to HomeBridge.
This software represents a very interesting alternative, especially for the Apple user community. As it is very common that a device in the house is not compatible with Homekit.
Let's talk a little about Homekit
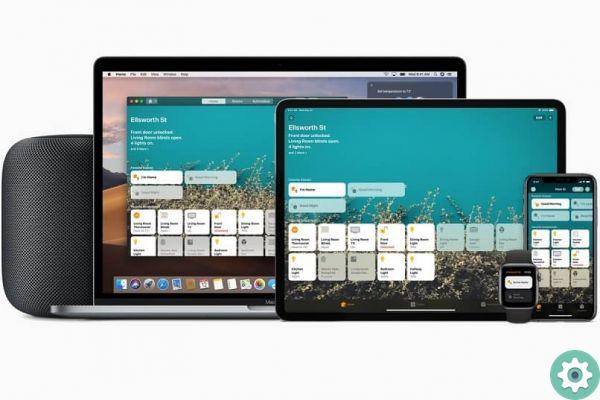
Homekit is a system of owned by Apple. This software allows configuration and manipulation of home devices. Televisions, heating systems, air conditioners, cameras, routers, speakers, even locks and other elements of the security system!
The only problem is that in order for these devices to work effectively, Apple license is required. In other words, that Apple has that device registered in its system. Only then will you be able to get the most out of Homekit's benefits.
A strong opponent
Homebridge, on the other hand, appeared as a very interesting alternative to Homekit. IS free software which offers the same functions as the one designed by Apple. Easily installing and adding devices to HomeBridge helps a lot. For example, to control, turn off and turn on the lights with an iPhone.
But wait, it's not the best of all! Without a doubt, what stands out most is the ability to connect devices independently of the system. Linux, Windows, iOS, Android. Any type of device in your home can be part of Homebridge.
How to install it?
This system, like many others, requires a wireless internet service for its proper functioning. So it's important that you know how to boost my cell phone's Wi-Fi signal to make sure there's no problem.
installing and adding devices in Homebridge is enough some knowledge of the system. This makes the procedure somewhat complicated. However, if you follow the instructions you will find here to the letter, everything will be satisfactory.
Step by step
As noted earlier, Homebridge is available for different operating systems. Then the installation process can be adapted to the device of your choice. In this case, we will use the Linux system as an example.
- The first thing to do is to install Node.js and its additional dependencies via the Linux terminal. You just have to enter the following commands:
- # setup repository
- curl –sL https://deb.nodesource.com/setup_14.x | sudo bash –
- # installa Node.js
- sudo apt-get install –y nodejs gcc g++ make python net-tools
- # test node works
- nodo -v
- It's time to install both Homebridge and its Homebridge UI. To do this, you will need to enter the following:
- sudo npm install –g –unsafe-perm homebridge-config-ui-x
- Run HombeBridge as a service.
- Installation of the Sudo hb service - user's homebridge
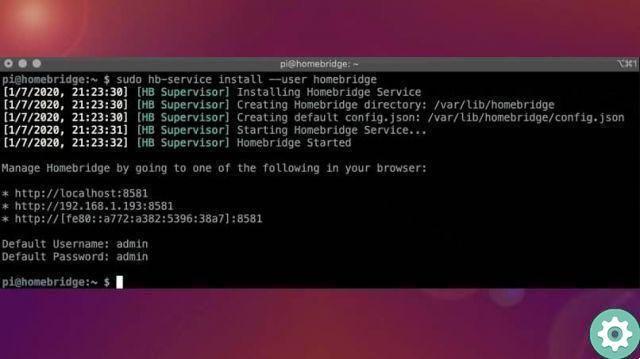
The command mentioned above is the one that will do everything that is needed to install HomeBridge on your computer. From here, you can add or remove any plugins you deem necessary.
Start adding devices!
Your Linux computer, your iPhone and other devices they will now be ready for connection via Homekit, if applicable. How about starting by adding a TV? If you have your iPhone handy, please follow the instructions below:
- Access the Homekit application.
- Click on the «Home tab», represented by the «+» icon.
- Now, select the option «Add accessory» and select "I don't have a code or can't scan".
- Choose the accessory you want to add.
- Enter the code displayed after selection.
Ready! Have fun with Homekit and HomeBridge together
Now it remains to learn the ability to connect smart devices like Apple TV that are in your home. Remember, Internet connection is important. Only in this way will you be able to enjoy all the benefits and advantages of HomeBridge.


