


In the following article, we will show you how easy it will be for you enable or disable the control panel in Windows 10, step by step.
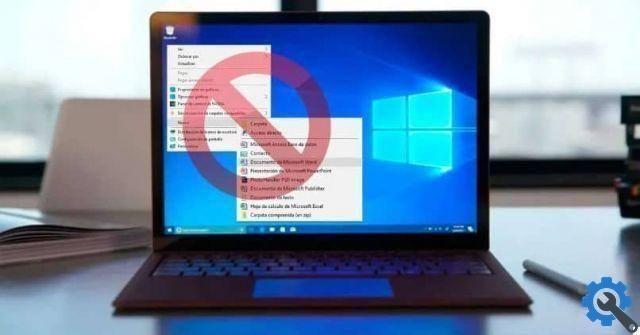
If you are familiar with the use of keyboard shortcuts, you should know how to access this control panel, through the combination of keys. In this case we will press the key Win + I or we can also access it via the start menu. But apparently this control panel is going to disappear thanks to the configuration.

You can already tell how much optimization has migrated on the settings page, but it still remains in the control panel. Thus having two different places to carry out the same adjustment in the system. For example, you can turn hibernation on or off in Windows 10 from here .
How to enable or disable the control panel in Windows 10
Ok and you will tell me that you already know all this and that what you want is to know how to enable or disable control panel in windows 10. Since you don't want to create another account, but you don't want another person to use your PC, they may have access to the control panel. And then you can make changes to the system configuration and this is what you want to avoid.
Well this like everything in life is easy to do, you just didn't know that Windows 10 offers an option to enable or disable the control panel and settings window. And to carry out this task we will do it via Group Policy or even using the Windows Registry tool.
Let's first start enabling or disabling the Control Panel in Windows 10 from Group Policy. To do this you need to go to the search field and write Local Group Policy Editor. Then you need to press the Enter key, now you need to follow the following path User configuration > Administrative Templates> Control Panel.
Now go to the right part of the window, to find and double click on Prohibit access to control panel policies and PC settings. In this way its properties will be opened, now the next step is to select the option Activated in this way the control panel and the configuration will be deactivated and finally we click on Apply.
If you want to reactivate the control panel and configuration, go to this same address and choose the Not configured option and then click Apply. We will now explain how to do it but from registry.
How to enable or disable the control panel from the registry
To use the activation or deactivation with this method, we will go to the search bar and type Regedit and then press the Enter key. The next thing you should do is follow in the window that will appear the following path HKEY_CURRENT_USERSoftwareMicrosoft WindowsCurrentVersionPoliciesExplorer
You will position yourself with the cursor on the right side and in an empty space you will have to right click, click again. Then click on the DWORD (32-bit) value and it you will call No ControlPanel. Now you need to double the clip and then you need to configure your Value 1 data so that you can turn off the control panel and settings.
Exit this window and you are ready, try to follow the instructions here to the letter, so that you will not have problems making these settings. And this way you can enable or disable very easily the control panel in Windows 10.


