Il Windows operating system 10 it is one of the best systems currently in existence and while it is very good it is not without its flaws. If you are here for sure you will seek help to fix this OS boot situation.
Something that can help you is to have a system boot record and we will help you with that. We will show you how to use a function called Boot Log which will allow you to record the startup of your pc.
What is the startup log?
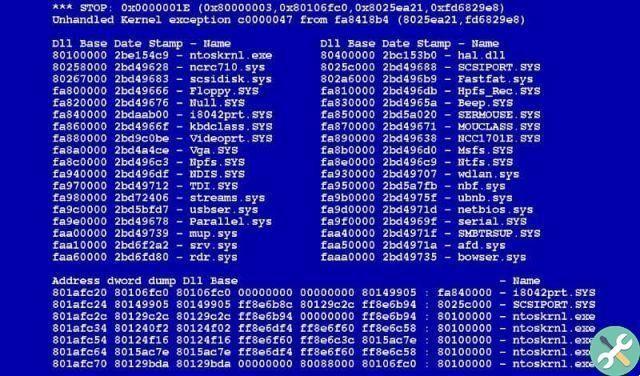
 Chances are, if yours PC has the new windows 10 operating system, you have noticed some errors in your system, such as windows fail to start. Such problems may be due to errors in Windows services.
They can also be errors in software or hardware such as the memory or hard drive. This is where the Boot Log file comes in so that you have a system boot record.
Although the Windows 10 program brings with it some minor system problems, we cannot rule out its great advantages. For example, it has its own application store and even the XBOX store to download the games you want.
But not only that, it also gives you the opportunity to activate a boot record. This log allows you to save a text file with important information about system startup parameters.
This will help you detect some of the potential problems that can cause Windows 10 to not boot. That's why we'll show you in this article how to activate or enable this feature in Windows 10 and have no more problems and have a quick start in Windows.
How to enable or enable Boot Log file when Windows 10 starts?
This boot system will be very useful since, with it, you will be able to examine the procedures of Windows 10 startup or startup. Activating it is very simple, you just have to follow the steps that we will give you below and you will be able to activate this function without any problems.
Step 1
The first thing you should do is open the Run window, for this you have to press the Windows + R buttons. In the box that will appear below you have to write the command msconfig.
Step 2
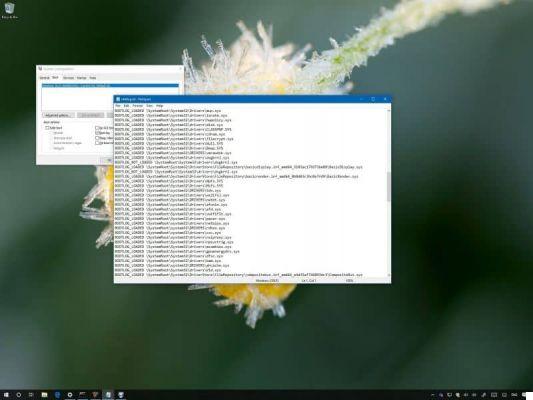
A system configuration window should appear on the screen, you need to locate the Startup section. This is where you will activate your startup log and of course the boot log file.
3 pass
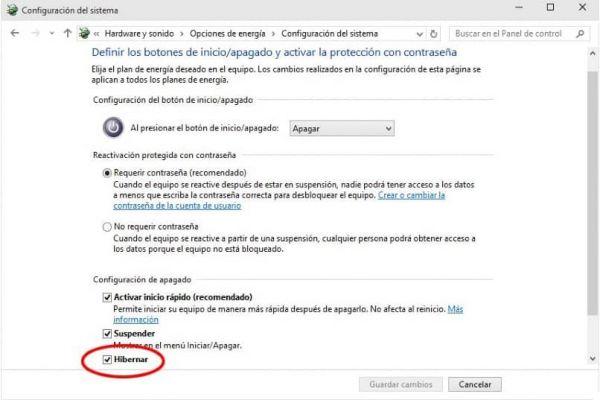
You need to select the Boot Record option which you can locate within the Boot Options and click OK or Apply.
4 pass
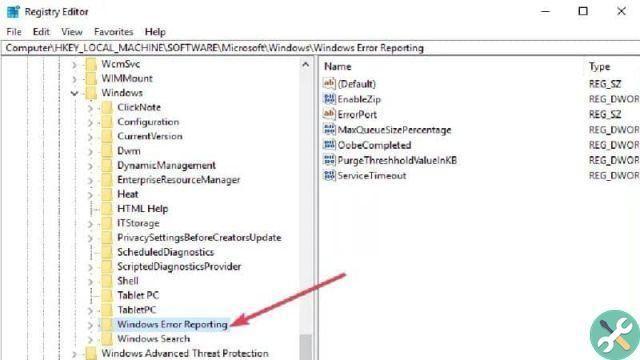
When you perform this step, the system will most likely ask you to perform a reboot to save the changes. Doing so will save the boot information in the Boot Log and to access it, you just need to go to the following path C: Windows ntbtlog.txt. And you can already have the important information about starting Windows every time you turn on your PC.
But this is not the only way to activate or enable the Boot Log. This can be done using the bcedit command at the command prompt. We will also show you what steps you need to follow to get this procedure done.
Step 1
The first thing you should do is open the Command Prompt, you do this by opening the Run window and typing the command cmd. Inside the command prompt, type the bcedit command so that you can view information about your operating system, as well as boot records.
Step 2
Now you need to pay attention to the identifier of the operating system in which you will enable your boot record. In it, you need to write the command bcedit / set {ID} bootlog Sì
3 pass
You have to replace the ID with the ID of your operating system and that's it. When you restart your computer, the boot log will be saved in the boot log text file.
Now, in case you want to deactivate this function, you just have to type the command bcedit / set {ID} bootlog No. You can also go to the system configuration and deactivate the corresponding section.