In order to enter commands in our channel it will be necessary to use an application called moobot. Which is free although it may have other features that you have to pay to use. In our case it will not be necessary, since the options we will use are free and therefore we will not have any problems.
As we will see, Moobot cannot be downloaded and works directly from the application, so what we need to do is that from your Twitch account you connect to Moobot.
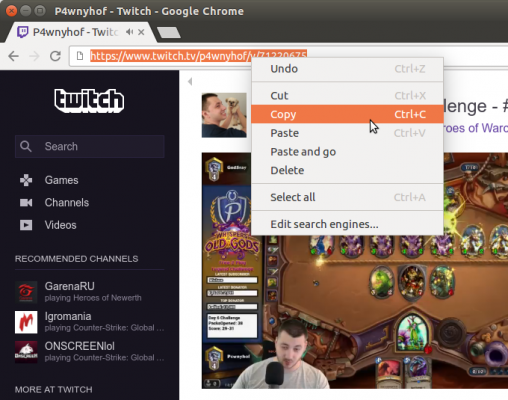
To have no problems you can do it from here http://twitch.moobot.tv/ once you enter the page you have to click on Connect and follow the instructions that will be indicated to you.
Enter, create and configure commands for your Twitch channel. Very easy!
Moobot works the same as any other user, so you will need to give it moderator permission. To do this go to your Twitch channel, enter the chat and write the following /modMoobot and then Moobot moderate, if everything went well Moobot will respond to you as a moderator.
Once the connection of Moobot with Twitch is complete, we will create the basic commands that we will need in our channel. As we realize when we use Moobot it will be very simple to create these commands and to do so it will be necessary to go directly to COMMANDS> Command list.
Steps to enter, create and configure commands for your Twitch channel Very easy!
Now a new window is shown on your screen and in it you will be able to create commands, to do this you just have to write the name of the command. Then go to the Create button, this action will generate the appearance of another window. In it you can indicate the information that this command will have, for example if it is for social networks, enter social.
So in the Text field you have to write the information associated with this command, for example "and if you want more information about me, you can follow me on my social networks like Twitter, Facebook, etc.". Now if you want this command to repeat automatically during your live broadcasts, go now COMMANDS> Command timer.
Now you will see a new window appear and in it you will create this new command with the name Timer and then you will click on the Create button. Another window will appear and in it you will be able to modify the characteristics that the timer will have. For example, you can indicate every hour of the story in which the command will be repeated, every 5 minutes or every 0, 15, etc.
You can also indicate the number of lines that must pass in the chat before repeating the command. Now the next step after creating this command is to scroll to the bottom and click on the option Add command. Then select the command you want to add the automatic command to, once done click on the save option.
The other option you can use to create commands is COMMAND > Alias command, with it you can create an alternative name. This is to be able to activate your commands, for this click on Create alias, a pop-up window will appear and in it you will write the alias and then the command that will be activated, for example write Me and then Social network.

And in this way you can realize how simple and fast it can be to create commands on your Twitch channel and thus interact more automatically with your followers. Everything is very simple on this page, from streaming on Twitch, to creating commands.
TagsContrazione