


If you are updating your PC and you get a message stating that you should repair error 0x800F0988 in Windows Update, what can you do? Well, in this tutorial we will simply explain the steps you need to take to fix this problem quickly and easily.
That's why today you will get help with the most frequent installation and update errors in Windows, such as 0x800F0988. Also, we will explain two steps you can take when you receive the update failed message, error 0x800F0988, so that you can complete the update.
Apply the Windows Update Troubleshooter for error 0x800F0988
By applying the Windows Update troubleshooter to your PC, you can fix various complications on your computer, which you may have previously done manually. Therefore, regardless of whether the error is 0x800F0988 or 0x80073701, it is possible apply this program and fix the problem. Also, the Windows Update Troubleshooter can help you fix error 0x80040154 in Windows 10.
- First you need to open Windows 10 settings, selecting “Win + i”.
- Then you have to select "Update & Security" and go to "Troubleshoot".
- Now go to "Windows Update", select it and then where it says " Run the troubleshooter ".
- The program will then check for any pending reboots.
- And then it will start a PC diagnostic and restart services like BITS.
- After applying the troubleshooter, you need to check for updates.
- And now, you shouldn't have any kind of problem with errors 0x800F0988 and 0x80073701.
Apply the StartComponentCleanup task using DISM or Task Scheduler
The activity program o StartComponentCleanup, is installed in Windows 10 to clean components that are not used in Windows. This program is used to clean Windows, it is activated directly from the computer's operating system, giving the user the ability to perform tasks manually.
After activating the scheduler, you need to wait 30 days after installing an updated component to uninstall previous versions.
Of course also from the information provided by Microsoft, we know that we can easily repair Windows 10 system with DISM command. The moment it starts working, via the task manager, you just have to wait an hour and that's it.
While it is likely that when you perform this procedure on your PC, some cleanups may not be performed. When using DISM, components that have been updated will be deleted immediately, without waiting the 30 days or waiting time.
Apply the StartComponentCleanup task with TaskManager to fix error 0x800F0988
To apply the StartComponentCleanup task with TaskManager e resolve error 0x800F0988, you need to follow the following steps which we will indicate below:
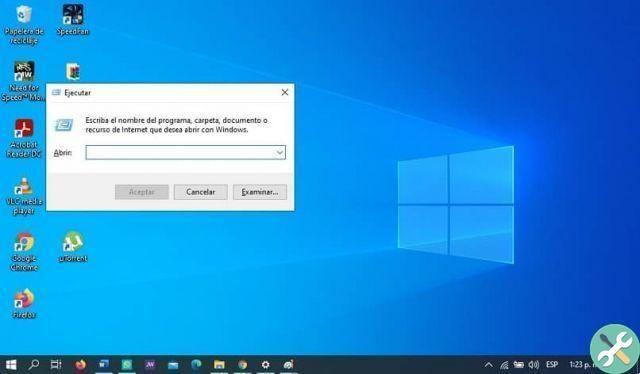
- You will first need to open the CMD command window in Windows.
- Next, you need to enter the words “taskchd.msc” and select enter.
- Once in the scheduler, go to Library> Microsoft> Windows> Maintenance.
- Once there, vai su “StartComponentCleanup” and press the right mouse button and select the "Run" option.
- Wait a few seconds while the process is done.
- After completion, review the updates you were performing.
Apply the StartComponentCleanup task with DISM to fix error 0x800F0988
To apply the activity StartComponentCleanup con DISM and resolve the error 0x800F0988, you need to follow the following instructions which will be given below:
- You will first need to open the DISM command window in Windows.
- Then you will need to copy the following command, dism / online / cleanup-image / startcomponentcleanup.
- Select the "Enter" button and wait a few seconds while the command is executed.
- When finished, restart your PC and check for updates.
Note: this can include the use of / ResetBase switch, in order to delete the versions of each component in the store, which have been replaced. You have to execute the command like this, “Dism.exe”, then “online”, then “Cleanup-Image”, then “StartComponentCleanup” and finally “ResetBase” and then you will fix the error 0x800F0988.
We hope that the information we have provided has been very useful to you, so that you can easily resolve error 0x800F0988 of your Windows Update.
Tagsfinestre


