Google continues to improve its photo editing and storage platform, Google Photos, with advanced features such as the its smart image editor.
Within this editor we find the Portrait Light or Portrait Lighting tool, which allows you to automatically enhance the light of faces in portrait images. This is thanks to the machine learning algorithms created by Google, which almost magically change the lighting and brightness of your selfies.
In addition to automatic adjustment, there is also the option of manually change the portrait lighting, selecting the intensity of the effect and the place of origin of the light.
In short, vertical lighting is a very useful tool. Next, let's explain step by step how fix the lighting in your photos with this simple Google Photos trick.
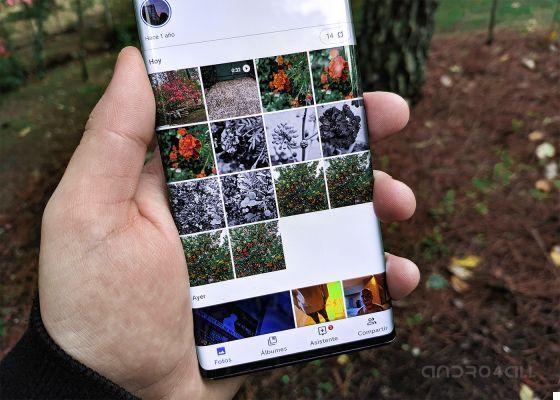
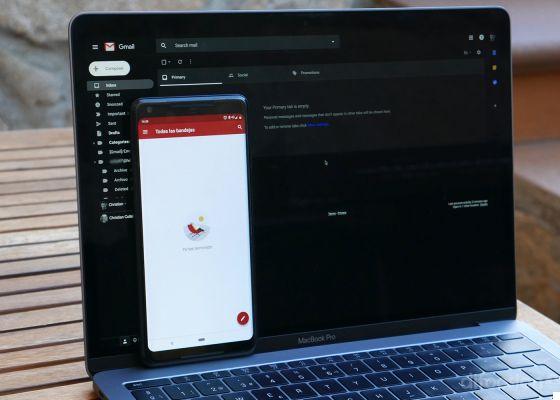
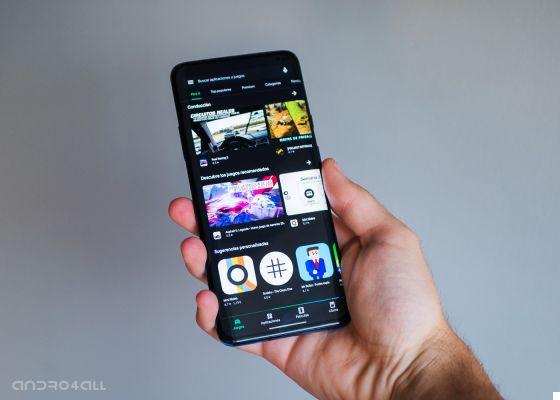
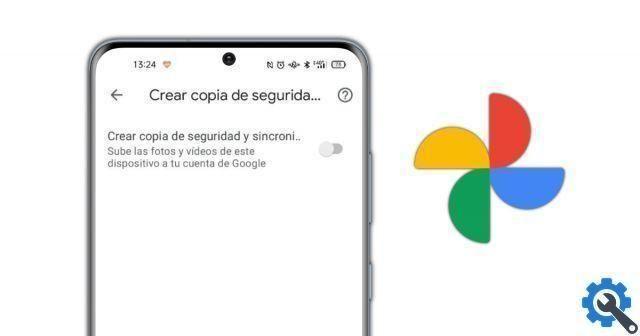
Google Photos has a specific function to enhance the lighting of your images.
Enhance the lighting of your photos after taking them
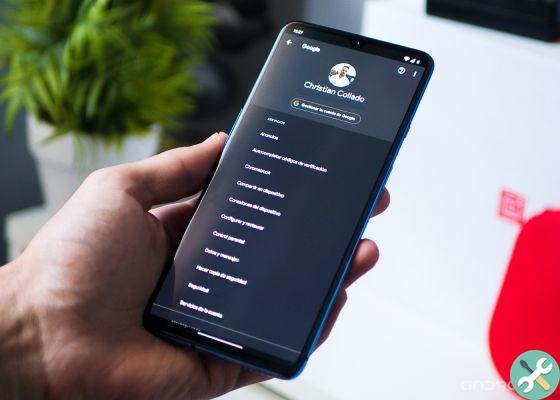
The Portrait Lighting function was born exclusively for the Google Pixel 5, although this has changed thanks to an update from Google that has also brought it to the previous Pixel models. Therefore, the first thing you need to do to have this tool on your Pixel is update Google Photos to obtain the version 5.15.0.337400196 or later of the app.
Once you have the latest version of Google Photos, you should follow along these steps to improve the lighting of your photos after having them taken, automatically or manually.
- Open Google Photos on your Pixel.
- Select a portrait photo that shows your face well. It doesn't matter if it was shot with a Pixel or not, with portrait mode enabled or if it's recent or not.
- Click the button "Edit" in the bottom bar of the screen.
- Tap the function "Rule" and then the option "Clear portrait" or "Vertical light".
- Automatically, Google Photos will improve the lighting of the portrait you are editing by choosing a light source and the correct brightness. To be the one who uses this feature manually, move the circle that appears in the image, which corresponds to the point of origin of the light, e slide your finger along the number bar lower, which corresponds to the intensity of the light. Edits are applied in real time, making editing easier by seeing directly how the edits affect the portrait. Also, if you press for a few seconds on the image, you will be in degree of see its original appearance and then compare the effect of the applied change on it.
- Tap "Done" to finish editing e save the photo with those lighting improvements made.

This feature is very useful when it comes to enhancing the lighting of an image, obtaining natural photographs and not excessively modified. Also, if you use the automatic mode, Google's algorithms will improve the lighting for you in the blink of an eye.
Unfortunately, this lighting enhancement is currently only available for Pixel and not it is known whether it will reach other Android phones in the future. We hope so, since it's one of the great tools Google has introduced in its photo storage and editing service to date.