


And it is that social profiles are very popular today and attract many people; That's why this article will show you How to insert or insert social media buttons in WordPress?
Insert social media buttons in WordPress
WordPress offers you two ways to put social media icons on your website; you can do it Manually or with Plugin (applications that contain a variety of functions that enhance the creation of your web page). You can even use a plugin to enter a live chat with users who log into your website.
Manually:
- Choose the social media icons you want to insert in WordPress. You can find a wide variety of icons on Google (but you need to make sure the image has the right to use it) or you can download icon packs.
- Upload the chosen icons to WordPress; You do it very simply, go to the «Media» option, then click on «Library» and when the tab opens, click on the «Add new» button and finally click on the «Select file» option. In this section add the downloaded files.
- If you want to add more than one icon, you need to click on the "Multiple Selection" option located in the "Media Library" tab.
- Add widget and configure HTML, for this you have to go to the option «Appearance», there you have to choose the place where you want to place the icon in the footer, in the header or in a sidebar.
- Then you have to add the custom HTML and you do it in the URL box where you have to write the social network you want to use and in the link text option you have to add the icon image of that social network.
- Don't forget to add the link to the menu.
- Go to the screen options where you need to activate the link target.
- Then go back to the custom link and view it, you will notice that there is an option to open it in a new tab, select it and save the menu.
When do you use the manual method, not WordPress saturates with the tools you need to install, the manual process is simple to use and is just as effective as when using plugins.

Use of plugins
This is the easiest way to insert social media icons in WordPress, but keep in mind that the more plugins you download, the heavier WordPress becomes.
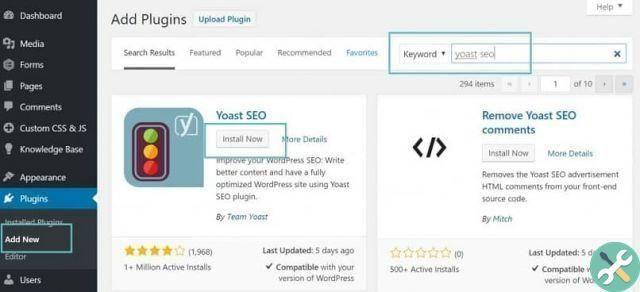
- Click on the plugin option found in the WordPress menu.
- Click on «Add new».
- Go to the search section and type the name of the plugins you want to use; The most recommended are Social Share Buttons, Social Pug and AddToAny Share Buttons, but you can choose the one you prefer.
- Click on "Install Now"
- Choose the "Activate" option, this step is important for the functioning of the plugins.
- Then go to "Settings", in this tab you have to choose the social media buttons you want to use on your website (Facebook, Twitter, Instagram, Pinterest, Google, among others)
- Also in this tab you can configure the size and pixels of the icons, adjust the position where you want to insert the buttons and if you want you can choose a universal button or the words that accompany your icons.
- It is important to press the «Save changes» button to register it.
- Then go to the «Floating» tab where you will choose a bar in horizontal or vertical position; This bar allows you to see your floating icons throughout the article.
- Do not forget to save the changes made.
Don't miss the ability to add social media buttons to your website, for example you can create a WordPress record with your Facebook account. Since your page visitors will have the ability to directly access your networks with just one click. In this way you will gain more followers who want to know what you do or want your products.
TagsWordPress


