The microscope is a necessary tool these days, as it offers a better view when looking for a virus or bacterium. However, being home from quarantine you may not know how to connect it to your PC and you need to capture your search results. That's why today we will teach you, step by step, how to install and connect an optical microscope to a PC.
Oddly, we can use a webcam in other ways. For example, you can use and convert your PC webcam into a surveillance camera; Even without a webcam, you have the option of using your mobile or mobile phone as an HD webcam via USB or WIFI.
It may seem strange that you can use and transform your Android mobile like a microscope. But in reality, it's not that strange. In this post, we will focus on how to connect a microscope to a PC.
Is it possible to connect an optical microscope to a PC?
Yes, it is really possible to connect the optical microscope via a webcam to a computer. It is certainly something very necessary for you, as sometimes in the workplace or at home you do not have enough microscopes for the number of people in the room or meeting.
Therefore, follow the step by step that we will provide below for have better results in a short time and deliver the best possible class.
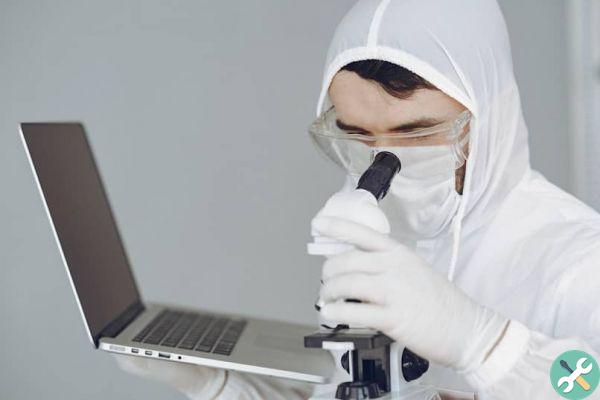
Steps to follow:
- First you will need one external webcam, the higher the pixel resolution the better, once you find it you have to remove the lens in front of it, it screws on the support, the ccd sensor must be uncovered.
- Next to the microscope we will remove the eyepiece and insert the camera there. To adapt the camera to the tube we can use a cardboard one, or simply the lens can fit perfectly to the camera.
- Now you have to turn on the camera positioned on the microscope; turning on its light you will be able to observe any sample. If necessary, you can improve your webcam image changing the brightness and light. There are also ways to improve the webcam quality on your Windows PC.
How do I install a digital microscope on my computer?
Something that will help you a lot when it comes to explaining a lesson or presenting a case, are digital microscopes. They can be connected to a computer via USB by logging into the computer and plugging it in to start the installation.
The device usually has a cd driver for installation on the PC. Proceed to insert it into your PC's disk drive, once this is done you have to run it. When ready, a series of options will appear, click driver. When you open it, 2 files will appear, click on the second one and install it.
So when you open the above file, you will realize that there are several options in the folders, proceed to click on "amCap" and when you do, it will open a card with the image that your microscope projects, remove the protection to get a better view. This way you have already installed your digital microscope on your PC.
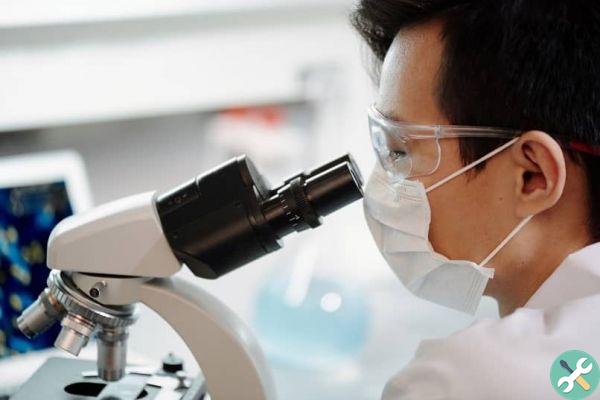
Best of all, this beautiful microscope contains other useful tools such as an LED light which allows you to have a better view when performing any experiment, and not only that it has a high performance head capable of move in any direction.
Microscopes are really very useful tools when doing an experiment or explaining a lesson, for this reason follow the recommendations we have provided to have a better performance when explaining a theory.
Do not stop sharing this information with other people, leave us your experience and usefulness in the comments. We wish you success by trying this ingenious tool from your computer.
TagsTutorial PC


