


How to make a brochure or a brochure in Power Point
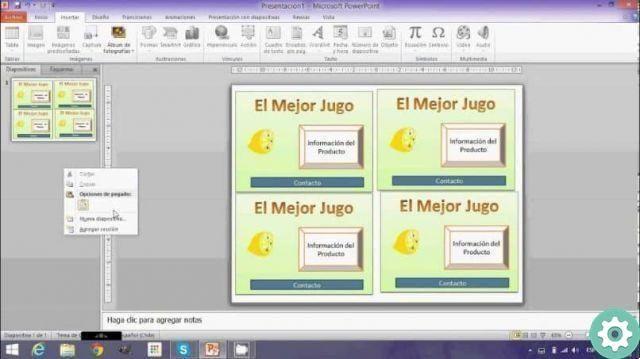
To start we enter Office Power Point and in Search online we place the word brochure, we will see different matches with our search. We select the option that best suits our needs and create a clip. For our case we have chosen the company brochure, but you can choose the one you want.
Once this is done, we just have to fill the brochure with the necessary information, we can do it by making a clip on each element present in the brochure. For example, you can take the area that contains your presentation text, delete it, and enter a brief description of your company information.
Now let's go to the box that contains the image, if we want we can change it and modify it to our liking.
We select the image and create a clip with the right mouse button, a small window will appear with different options and we need to make a clip in Change image and now we select the image contained in our image library and make a clip in Insert.
In the central part of our brochure, we find that you can insert, if you wish, a logo that you have already saved on your computer. Or you can search for it in google image gallery but you have to be careful with copyright.
After selecting the logo, inserting it and using the guides, this is achieved by going to Dresses and by selecting the guides, you can better organize your project.
In these brochures you can find information that you can edit or discard if it is not useful to you. You can do this by creating a clip in the text and then pressing the Delete key, if you don't want to delete it, make a clip on the text and enter your company data. After making the necessary changes, press enter.
We continue to perform these same steps for each part of the brochure, if you look closely you will see that on the left side it shows you two sheets.
This is because it shows you both sides of your brochure and you need to make these changes or changes to each of them. Remember that you can change the images and edit them however you want, and you have your brochure ready to print.
Another way to create a brochure or a Power Point brochure
Another way to create Power Point brochures or triptychs is to start from a blank page. For this we create a clip in New and then a blank presentation, but we will delete that presentation to really start from scratch. I have to go to Start, so we hook New Slide and then Blank.
Let's go to the slide that was the default and delete it. We do this by selecting it and making a clip with the right mouse button and then we select delete slide.
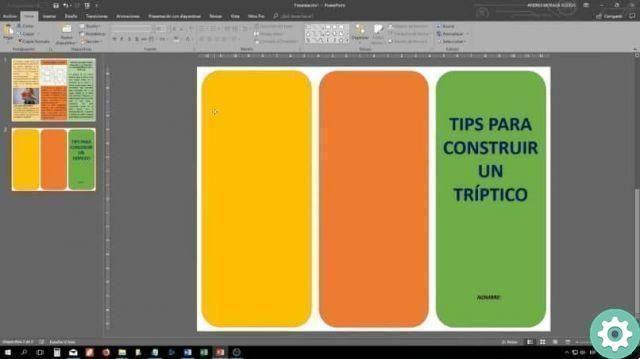
Now let's go to the Views tab and remove the guide selection, we must now go to Design then Slide Size and finally Customize, to place the desired values for our brochure.
With the sheet oriented, we share the spaces so they can be seen behind columns of equal size. To do this, we go to start and select in the box where boxes, rectangles, arrows, etc. appear.
What looks like a rectangle, so let's go to our sheet and select from the top left corner to the bottom. With this module it is also easy make your brochures or triptychs in Power Point.
Pay attention that you can divide the page into three equal parts, having that rectangle we can duplicate it, selecting it then we make a clip and without releasing we press the control key and drag. Now we have to insert the images as we explained in the first part and so we will have ready a triptych or a brochure made in Power Point.


