


Its download and installation is a simple process and we can find on the Internet options to download them completely for free without having to pay to use it and learn how to make adjustments like a pro with Photoshop.
It is used for photo retouching, with support in various image file formats and its tools give us optimal results for our retouching. On this occasion they will learn how to make a perfect selection and cropping with Photoshop CC in minutes and with very simple steps.
Step by step, how to make a selection in Photoshop?
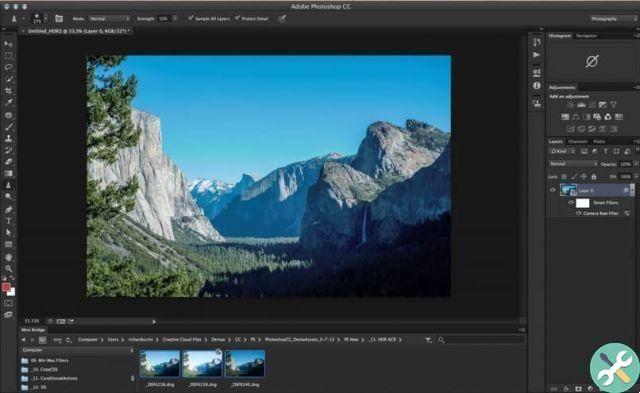
- First let's get in Photoshop CC, if you haven't installed it yet, you can go to its official Adobe page and download Photoshop CC.
- We select the image we want to make the selection and cut, we open the file within the program.
- On this image we will start making the cut with our tool "Speed dial" on the left edge of the screen where we have all the tools to use.
- We click at the bottom of the program on an option that we see when you select this tool like "Select and apply mask".
- Among the menus that we see on the right of the screen where it allows us to change the view in "Properties" we select the "Overlay" option and we will see the image in red color, which is normal, do not panic.
- With the tool "Speed dial" and a suitable brush size, we can change it in the bottom panel of the screen where we will see its size and we can adjust it, we will select the outline of the image we want to cut so that it remains.
- What we see in red is what does not remain in the image, that is, it will be erased at the end of the technique.
- When we have finished selecting the image to crop with the Quick Selection Brush, we will change it to another one to refine the edges of the crop.
- With the tool "Brush for finishing edges" let's proceed to remove those places where the quick selection tool failed to completely remove the background and refine those corners.
- We position and play with the size of the brush, with the zoom we will position the finishing brush on these areas where the background is still visible.
REMEMBER: change the selection mode near the option where we change the size of the brush and from the "+" sign we select the "-" sign
- When we finish the enhancement in the Properties area on the right edge of the screen, we bring up the menu "Global improvements" and inside we find the option "Edge shift" that we will decrease by at least 10% for a natural effect of the edge we cut and the image is of much better quality when transferred to another background.
How to make a perfect cutout in Photoshop CC?
- When the selection of our area to be cut is selected correctly we can proceed to the cut.
- In the Properties part on the right edge of the screen we have the option «Send», this allows us to make our cut a fact. We have options like "New level" e "Create Layer Mask".
- Select "Create Layer Mask" and will leave the cropped image with no backgrounds or hard edges, ready to be inserted into another image or saved as a .PNG image with no backgrounds.

This way we create one perfect selection and cropping in Photoshop CC in a few steps, full explanation so that there are no doubts. Would you be encouraged to make cuts like a professional image? With this step by step, you should no doubt cheer yourself up. If you have any problems while using the program, you will be able to fix it and you will know what to do when Photoshop's crop tool freezes.
TagsPhotoshop


