The innovation of the service and products has been one of the strengths of the Apple company , which has concentrated all its resources on the inclusion of a wide range of functions, which would facilitate its use by its users.
In this way, they allow all their users to have access to a wide range of possibilities, without limiting it in any way. One of the best examples we can give for this is it development of text dictation, which once dictated, is written automatically in the system, useful for writing texts in Word or on any other platform.
Here we want to tell you a little more about this tool and the correct way to activate it within your device and start using it correctly, to make your life a little easier.
Enable text dictation within your Mac
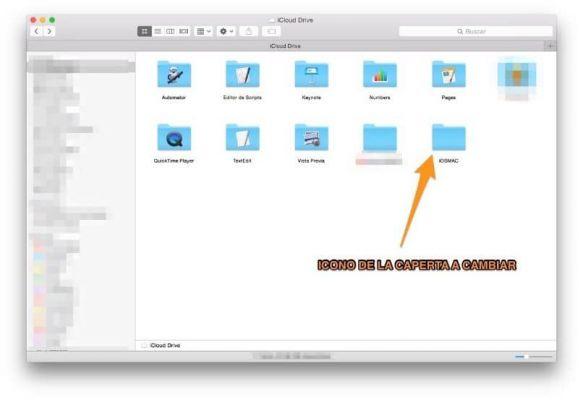
The steps to do this are very simple, to get started you need to access the version preferences of your macOS system, so you need to click inside the menu on your Apple device. There you will see that you are directed to a new window, in which you will see more icons, which refer to the preferences of yours work.
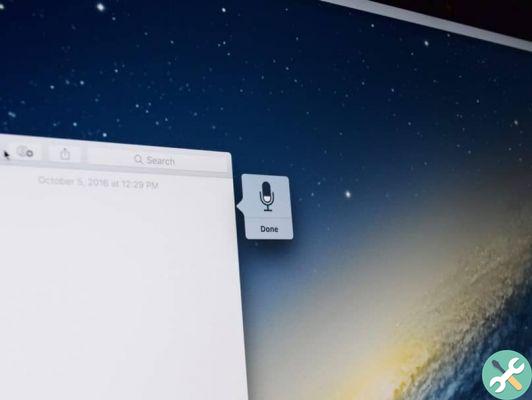
The icon that we have to look for at this point is the computer keyboard, which once pressed, we will see that a menu with more options will open on our keyboard. There we must focus on the option " dictation "And once found, we must proceed with the activation, by clicking on the option" activated ".
Once this option is activated, it will only remain that we configure this tool, to feel much more at ease. Within the configurations, we must make sure that it is in our language of our preference.
Once that option is complete, we need to determine which key it will be, which active automatically that option, so you always have it at hand.
However, here we want to advise you to choose the FN key for ease, as it is easier to use and its use is not that common, so you will not get confused at any time. If you have any type of microphone, you need to configure and determine which microphone will be used for this activity.

How to make your Mac read aloud?
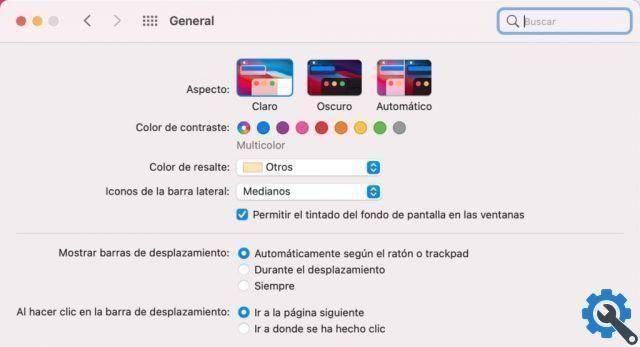
To get started, you need to go to the accessibility option, which you can find in your system's preferences menu. Once you have accessed this option, proceed to scroll down to the left panel, where you can find an option that says " Parla ".
You will be able to identify this option because it has an image of a computer screen, from which a cloud of dialogue emerges.
In the right part of the window, you will see that there are more options, among which you must make sure that the " Play the text orally ... ”Is selected, as otherwise the shower option will not be effective.
After that, to be able to activate the option on a daily basis, you just have to press the keys " Option + Esc ”And also have a text selected, since in this way our Mac system will start automatically, with the strong reading of what we have selected. If this combination does not seem appropriate to you, you can change it in the option " Change key ".
Similarly, in the upper section of this menu, we can select what the narrator's voice will be, the speed with which the text, among other settings that will help us customize this tool. It should be noted that this feature can be used effectively on iPhone, iPad or iPod Touch devices.
TagsMac


![Apple Vice Presidents Talk About Development of M1 for Mac [Updated]](/images/posts/c6254b668e5b3884d6b6338ccb8a02ff-0.jpg)