How to print correctly in Excel without it being cut off?
Undoubtedly, using Microsoft Excel to print tables and spreadsheets is not complicated at all, however it can happen that the sheets do not come out complete. This error is very annoying, as it completely damages the work we have done, however later we will show you how to fix it.
Before you learn how to print correctly in Excel, you need to configure the document on the tab «Layout in the page» and in the card "Preview" make final changes.
Settings from the "Page Layout" tab
- Open the Excel document.
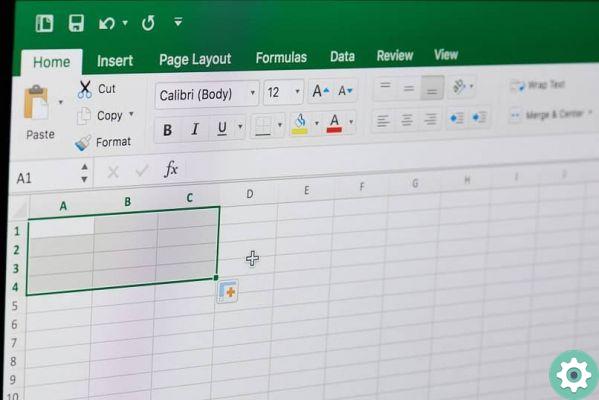
- Go to the toolbar and select the tab «Layout in the page», in this tab you can make several changes necessary for printing.
- Find the "Page setup" section ; where it is necessary to modify the following parameters: "Orientation" (horizontal or vertical), "Dimension" e "Margin" of the sheet.

Settings from the «Preview» tab
The «Preview» tab allows you to see how was the document that you have realized, this way you will be able to see if you need to make other adjustments so that the document will print correctly.
- Go to the toolbar and click on the tab "File", this option is located in the upper left corner.
- When a menu appears, click "Press".
- A side menu and the «Preview» window will appear immediately; This window will allow you to see what errors the sheet has. Always in that same window it is possible to make the necessary changes; like, paper size, margins and orientation.
- An important option contained in this window is "Scaling" ; This option allows you to make significant changes while printing.
- If the option says "No scaling" you need to turn it on; To do this, go to the "Configure page" option (located at the end of the tab you have opened); In the "Sheet" option, check the "Print dividing lines" box.
- Now go back to the «Preview» window and choose the option "Resizing", when a select menu is displayed "Adaptation sheet on one page". This will allow you to print all the information on one sheet.
- Before printing, make sure that the "Print active sheets" option is activated in the "Preview" window; because, if the print selection option is enabled, the sheet will not print correctly.
Note that the preview option is not to completely edit the document, but to give it the missing touches; to make big changes you have to do it from the «Page Design» tab.
One option that will also help you print all your Excel documents correctly is the option to adjust the "Print Area".

How to adjust the print area of Excel?
Print area adjustment is used to print only a specific area of the spreadsheet, that is, to print a certain number of required columns or rows.
- Open the Excel document.
- Go to the toolbar and select the tab «Layout in the page».
- Select the area you want to print on the sheet, i.e. the rows or columns that are needed.
- Since you have already opened the "Page Layout" tab, look for the "Page Settings" section; and click the option "Print area".
- When a small menu appears, click on the "Set Print Area" option; immediately a gray box will appear surrounding the selected area.
In this option you can also select the entire document and click on «print area» and then on «Set print area»; If a thin dotted line appears in the selected area, it is because you have exceeded the boundary of the sheet. Then the cells outside those points will be printed on another sheet.
To prevent this from happening, you need to adjust the sheet, for example by reducing the font, column width, changing the margin or the orientation of the sheet. If you don't want to make any of these changes, you can reduce the entire sheet area in the "Preview" - "Resize" option.
Following the tips in this post will help you avoid the tables, charts, and spreadsheets you have created in Excel from printing in half or across multiple sheets. Using Excel will help you better organize your data, create charts, diagrams or add by categories.


