In the following article we will explain how to create and configure a wireless network quickly and easily, so that anyone can do it.
Access to the router configuration
This should be the first step in setting up your wireless network. You will need to access the router path, which usually is http://192.168.1.1 and you will see the router login menu which will ask for a username and password. To enter you must enter "admin" as username and password.
Once you enter you will be able to see the entire panel of the router and you will be able to establish a security so that users who wish to access your wireless network, can do it alone with a password.
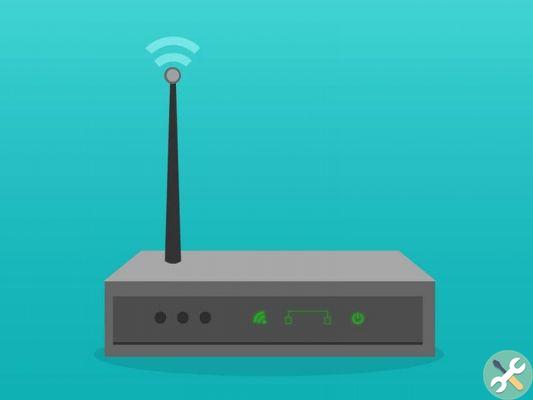
You can also change the username and password to log into the router, which is recommended, as anyone could log into your local network without you knowing.
Change the router password
Passwords provided by routers are often weak and vulnerable. These are included in the stickers that the equipment has and are usually common among routers, so it is recommended that you change these passwords.
Most routers have a panel on the left side with the possible configurations and among these there will be changing the password.
To change it, you need to enter the Password default and then set the desired password. Once this process is done, you will need to save the configuration and restart the router for the changes to take effect.
Change the WIFI name and password
It should be clarified that the router has a password and the network WIFI no has another. The latter is what we need to place on all our mobile devices to be able to access the network and have access to the Internet.
To change this password we will have to access the section called Wireless, network or Wifi, depending on the type of modem you have. You can change both the name and the password and establish the type of security, being WAP2 the best alternative to be safer.
If you already had devices connected and you change the password, you will need to reconnect the devices with the new password you just set.
Change the WiFi channel
Most modern routers have dual band, being able to have two Wi-Fi networks. Each router must connect to a channel to transmit the signal and establish the connection. These bands are divided into 14 channels and some equipment tends to automatically connect to freer channels. In case this is not the case with your router, you can connect to any channel (the latter are usually freer). You just have to go to Wireless and establish the channel
Change DNS
I server DNS they are the servers that host all websites and, when you do a search, they offer you the IP address so that you can access the site. Default routers usually have factory default DNS; however, these could become saturated causing navigation problems.
To change the DNS you need to access the advanced configuration of the router and click on the DNS Server option. You will need to delete the established values and assign the values of Google (8.8.8.8 Primary DNS and 8.8.4.4 Secondary DNS).
Assign a fixed IP address
This is usually recommended if you are using applications to make video conferencing or even connect to servers to play video games online. By default, routers establish an IP address for all computers that connect and change it from time to time.
To make this change we will have to access the LAN section and then DHCP. There will be a field called Static IP where we will have to insert the MAC address and the IP address we want to assign.
EtiquetasTutorial Wi-Fi


