


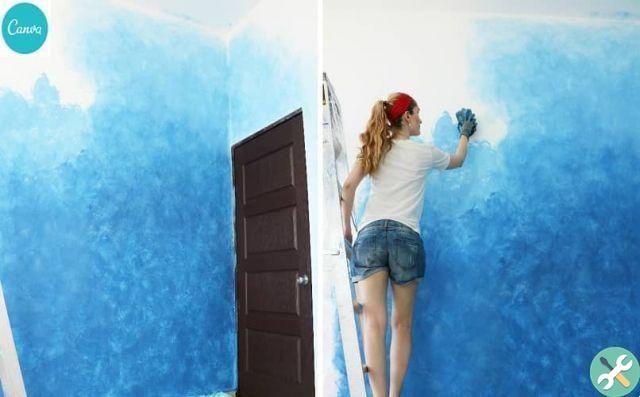
Enhance the design of your photos and images with Canva. Today we will show you how to add color shades to my photos with Canva. It is a very useful tool with which you can create fantastic designs and give your presentations a unique touch.
We've all gotten into trouble when it comes to choosing the color scheme for an image, and not because that's hard to do. The tricky thing is really being able to choose one of the infinite colors that exist.
With Canva you can give free rein to your imagination, as it has an infinite number of tools that will allow you to create anything that comes to mind (you can even create a pixel effect in Canva), whether to design a presentation for a social network or to create documents for a job or company. And best of all, you can do it for free and without the need to download applications.
Canva is a image and video editor which is used through its online platform. To do this, you will need to create a profile using your Google or Facebook account information.
How to add color gradients to my photos with Canva in just a few steps
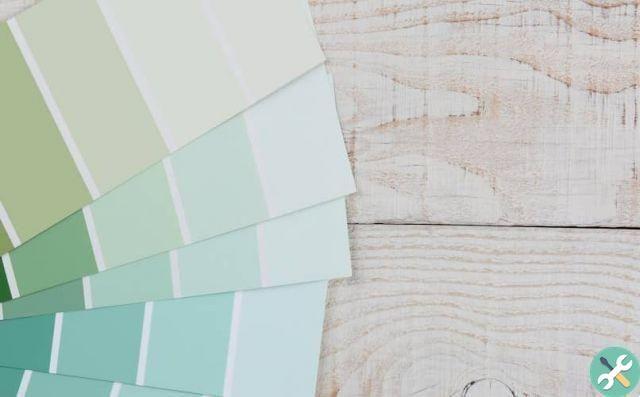
Ideally, being able to create a gradient in an image means choosing two colors as a base: one neutral and one that enhances. You have to make sure they both combine. To choose a neutral color, we recommend using colors such as white, black, gray, beige or brown. Well, they are the easiest to combine.
And then need to define hues and shadows. As shadows, we are not referring to the darkest colors and as tints to those that will give the most light to your image.
Once you have defined the colors you want to use, you need to choose the gradient pattern or shape you want to apply to the image. To do this, go to the Items tab you have in the menu on your left.
Once in this tab, the next thing will be to look for the Gradients> See All section. Choose one of the designs offered on the Canva page by clicking on it to bring it to the edit sheet.
Don't worry if the colors don't convince you. You just have to base yourself on the shape of each one. Once you've chosen a template, you can customize the colors from the toolbar at the top of the screen.
After choosing it, click on one of the colors you want to change. The solid color palette will open. If you want to create a new color, click on New color. One by one, change the colors.
You can add more than one gradient or remove the ones you don't like from the trash can icon in the top right corner of the screen. At the same time, you can also choose to create borders with gradient colors if you wish.
How to define the transparency of a gradient or image with Canva
You can set the transparency of a gradient or an image with Canva quickly and easily.
Whatever element you have incorporated into your drawing sheet, you can change the transparency, so that when two or more images or shades are overlapped, one stands out on top of the other.
To do this, select the element you want to change, be it an image or a text. From the toolbar at the top of the screen, click the three dots icon to view more options.
From there, select the squares icon to change the transparency. Swipe left to right to decrease or increase it. Then click anywhere on the screen to exit.
Do the same with all the necessary items. When you're done editing, don't forget to save and download it on your computer or mobile device.
And with that everything is ready, so you can start creating your own gradients, however remember that this program has a lot of features, so it's not bad that you keep looking for things about it, such as: how to make a Polaroid effect look realistic in Canva?
TagsCanva


