What is RSAT?
RSAT stands for “Remote Support Administration Tools” and is a tool created by the Microsoft company. RSAT allows you to manage a server from a client computer with the Windows operating system.
To use RSAT, the server must be connected to the same network as the client and the user who wants to administer the server must be a domain administrator.
What is RSAT for?
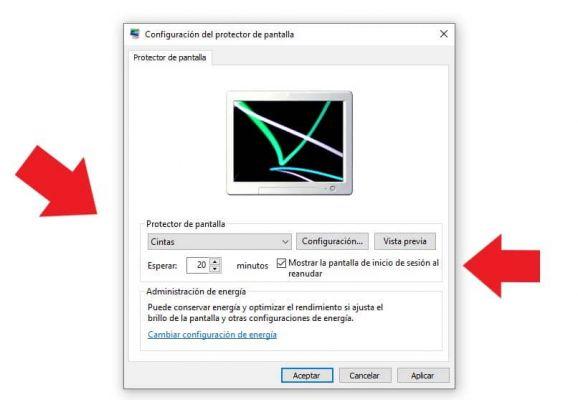
RSAT serves the administrators in the process managing the characteristics and roles of a server from a local computer with the Windows system (Vista, 7, 8, 8.1 and 10 versions) and remotely. It is important to note that with RSAT, users can know the last time and date a Windows server was restarted. Hence, there will be more control to ensure greater system efficiency.
How to remotely manage a server with Windows 10 RSAT" src="/images/posts/3b6883ef8b802d7c612ec95d50da7a32-0.jpg">
How to remotely manage a server with Windows 10 RSAT
If you want to manage a server remotely via RSAT in Windows 10, you need to install the tool and configure it through a series of steps that we explain below.
Install RSAT on Windows 10
There are two ways to install RSAT on Windows 10: the traditional way and the new way. If you prefer the traditional route, you need to go to Microsoft's download site. Then, locate the RSAT administration tool, download it and run the installation file on your PC. Accept the license agreements and press the "Accept" button.
On the other hand, if you choose the new way, you have to go to the start menu and open the “Settings”. Then, click on "System" and on the left side of the panel locate "Applications and Features". Click on the link "Manage optional features" e click on "Add Features". Find the Server Manager and other tools you want to install.
Run RSAT on Windows 10
Once you have installed the administration tool of the server remote on your PC, a folder named “Administrative Tools” will appear in the start menu. If you can't see this folder, go to "Control Panel", search for "Systems and Security Tools" and click on "Administrative Tools". Then, choose the “Server Administrator” option.
Also, you can start the remote server manager by clicking on "All applications" from the boot menu. Select "Administrative Tools" and there choose the "Server Administrator" option.
How to remotely manage a server with Windows 10 RSAT" src="/images/posts/3b6883ef8b802d7c612ec95d50da7a32-1.jpg">
Add the remote server
The next step is when adding the server or server group using the administration tools of the server remote "RSAT". To do this, locate and click "Manage". Then choose "Add Server". A new window will appear in which you need to write the server name, press the arrow to add it and press the "Add" button.
Manage the server with RSAT
To manage the remote server you added, you need to go to the “Tools” menu and choose “Remote Access Management”. Immediately, the connection with the server will be established so that you can access it via the client (where you configured the remote server). You can also choose to connect to a server using Putty if you prefer to use an additional tool for this purpose.
Use the console to manage the server
You can also use consoles or MMCs. To do this, make sure you are logged into your PC with the administrator account. Choose the "Active Directory Users and Computers" option from "Administrative Tools". Immediately, a console will open, so you have to press the secondary mouse button on a red X.
Select the option "Change domain controller" and change the name to identify access from the client computer. Press the "OK" button and wait for the console to load so that you can work on it as it happens during the installation and configuration of a DCHP server in Windows Server.