


How to know what is damaged by headphones with a microphone
Unless you are using Bluetooth headphones, the safest thing is that at some point you have to repair the Headphone Jack connector with a microphone, it can be complicated if you don't know how to do it, because you may have to change the connector for a new one or the cable is damaged. That is why it is important to have the necessary tools:
- Welder or electric welder.
- Tin or solder.
- Scissors or knife
- Heat shrink tubing.
- Spelafili.
- Sand paper
Once you have all the tools ready, carry out an assessment of the problem; It is good to make sure that you know which element of the headphones is damaged, that is, it could be the cable or the Jack connector.
Assess for damage to hearing aids with microphone:
To find out why your headphones stopped ringing, do the following: Insert other headphones in good condition into your mobile and check if you are getting any sound. Then, the headset is damaged.
To determine what the damage is, plug the headphones back into the cell phone and push the connector; If you hear anything, it is the Jack connector that is damaged. Once the damage has been determined, proceed to repair.
Repair the Jack connector of the headphones with microphone
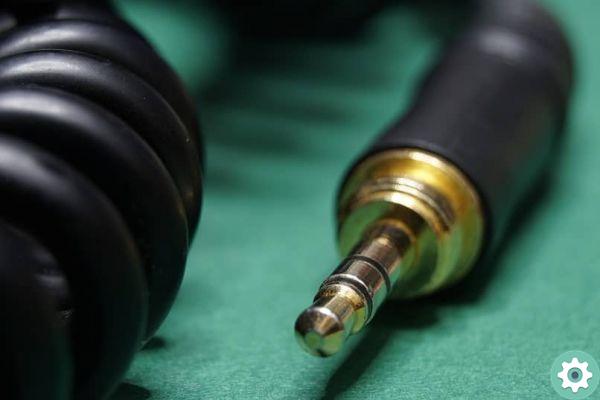
The first thing you should do is buy a new Jack connector, you can find it in a hardware store or online stores. Remember to buy a metal connector, stereo connection and with a spring.
Its size is 4 mm. Having the new connector, now with scissors or a knife cut the connector damaged within 2 cm of the point where the cable is connected. Some connectors unscrew, making things difficult with frayed wires.
Now, with the wire stripper, proceed to remove the cable covering from one end for a measure of 3 cm. There are 3 wires in the cable: the first is from the right hearing aid, the second from the left and the last is a ground wire. Generally these threads are determined by color; for example, red for the right hearing aid, white or green for the left hearing aid and black, brown or copper for the «terra» hearing aid.
Now remove the rubber covering the cable up to 8mm when possible. If the threads have enameled tips, do not perform this step. It may be that there are two wires of the same color as the ground connections, join the tips and the coil before soldering with the soldering iron. If they are all different colors, twist the ends of each strand.

Now you need to solder the wires, for this, spread a drop of solder on each end of the wires, this ensures that they can be connected to the same Jack connector as the headphones.
Glue the tips of the wires you have already soldered, for this use a sandpaper to eliminate the edges, this way it will be easier to weld them to the metal, add tin to one of the tips of the connector needles and heat with solder iron to melt it. Do the same with the other two strands.
Rotate the connector sleeve to screw it into the Jack connector, check that it is tight and then try the headphones. In case you do not hear any sound, it is possible that the wires are in contact, it is necessary to unscrew the cap and pull the wires, in this way they separate.
As you can see, to repair the Jack connector of the headphones with microphone it is important to make an assessment to determine what the damage is and then proceed to repair, using the necessary tools; and of course, follow the steps in this article.
Write and comment what you think of this information; don't forget to share this article with your family, friends or acquaintances.


