Many users are dedicated to logging into their Twitch account and starting playing right away. Without wasting time getting to know the platform and knowing that there are many tools that will allow you to receive notification alerts. These will notify you when a contribution has been made to your account.
Whether it's a donation, a subscription, they've hosted or any other activity that is being done, you will always be notified so that you are informed. But this tool must be configured to work properly. And that's the purpose of this article to show you how set alerts and notifications for Twitch streaming - Twitch Alerts.
How to set up alerts and notifications for Twitch streams - Twitch Alerts
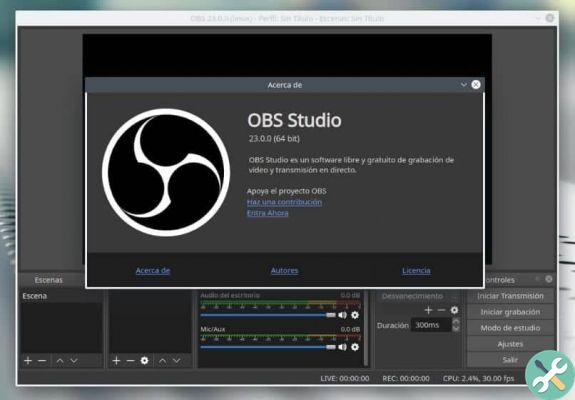
In other tutorials we have already indicated the importance of using the application OBS Studio and with it we will be able to configure the alerts. You will also need to have installed the Plugin BowserSouce. Since with this complement will be recorded the types of sources of the links that will be played in your direct and also other important resources.
How to set up alerts and notifications for Twitch streams - Twitch Alerts" src="/images/posts/7f2bc3a03c582bbb33e3c7667a212a06-0.jpg">
You will realize that doing this job is very simple as well as fast and you just have to learn how to use the tool. But it is important that you have the Plugin of we talked about earlier, if you have the latest version of OBS, it is already installed. To be able to check it, you just need to search for the installed fonts and you should see Browser.
Steps to set up alerts and notifications for Twitch streams - Twitch Alerts
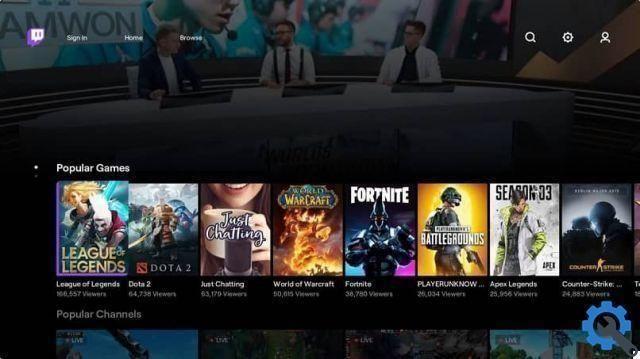
Once you have verified that the BrowserSource it is available in OBS, if you don't have it, you need to install it. We will move on to the next step and that is to go to the StreamLabs website. And from there we will log in but using our Twitch account, perform all the steps that are required to confirm the authorization and we can get started.
When we enter we will see that it is all in English, but don't worry it can be changed and for this we click on our profile photo. Once the language is changed, we will define and configure the alerts. In this case we will click on the Widget option, which is located on the left side of the window.
Clicking on this option will show a list with all available alerts to define and select AlertBox. Now here we just have to select the type of alert we want to define and it will depend on each user. But the ones that stand out the most are the fins for new followers, for hosting, donations, subscriptions.
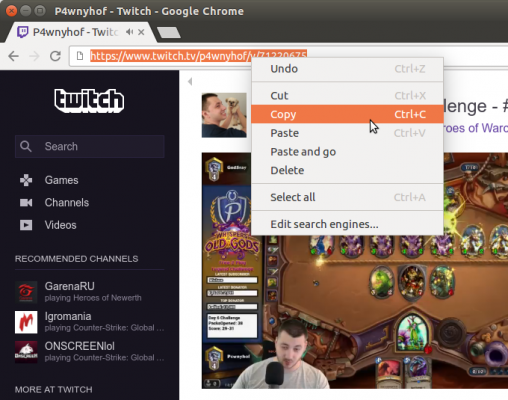
Once the alerts are defined, we need to add the URL and for this we will use the plug-in BrowserSouser and we will find it in StreamLabs. In particular, we will have access to it if we click on the Start option. The URL will be displayed and to copy it we click on Copy, then we go to OBS Studio and select the scene where the warning will be added.
So we go to Sources and click on Add new and here we choose Browser, now in the URL field, we will paste what we have previously copied. Finally, we should just accept and save and this way the alert has been configured in OBS Studio. You should know that these alerts are the ones that StreamLabs gives us by default and can be changed to give them a personal touch.
How to set up alerts and notifications for Twitch streams - Twitch Alerts" src="/images/posts/7f2bc3a03c582bbb33e3c7667a212a06-1.jpg">
We can change the sound, image, text, warning duration, warning animation among others. And if in this way we have concluded with this article that I show you how to set up alerts and notifications for Twitch streaming.
TagsContrazione