Who streams on Twitch has the ability to customize their faces as if they were avatar, thanks to the filters of the Snap Camera application. This new feature makes broadcasting for content creators and gamers more fun. Without a doubt a trend that is here to stay.
Twitch users will have access to thematic filters related to video game characters. The most popular are those from LOL, PUBG and World of Warcraft. Not considering that users will be able to create your own filters with Studio.
How to Stream Live Video on Twitch with Snapchat Filters
- The main thing is download and install Snap Camera application on your PC. Accept the terms of use and add your email.
- Select the correct version of the application, depending on the operating system of your PC, Windows or MAC.
- Install the application and launch it. The first time the app gives you a short welcome showing the available functions.
- Select the selfie filter you want to use for streaming on Twitch.
- Minimize the application screen Snap camera and open the application you will use to record the screen in the broadcast.
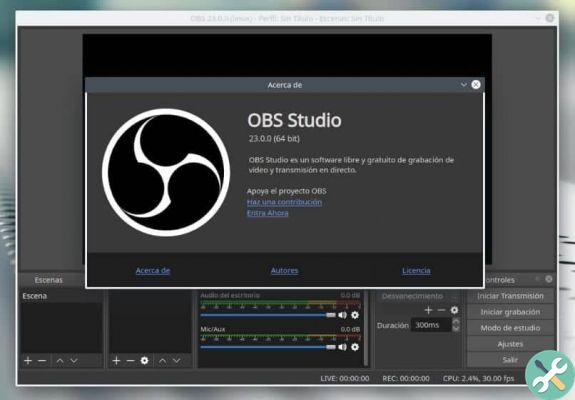
- There are many applications you can use to record your screen like XSplit and OBS Studio. In this particular case we will use OBS Studio.
How to Stream Live Video on Twitch with Snapchat Filters | Snap camera" src="/images/posts/dee36c1e5af47cbf6543ad410b64b842-0.jpg">
- In order to use OBS, it must be previously connected to the Twitch channel that you will use for transmission.
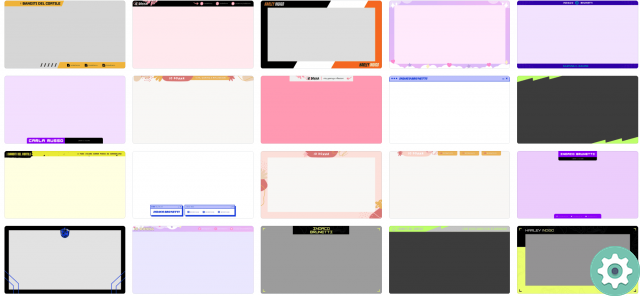
- Select the interface you will use for the broadcast. You can choose from the predefined ones or create your own.
- Select the font you will use to capture the screen. Then in the same font menu click the (+) button.
- You need to select the option Video capture device. It will show a list of devices and you will need to select Snap Camera. Customize the size to your liking for streaming.
Once everything is set up, hit the button Start transmission. You will be automatically redirected to the Twitch channel. It can be seen that the broadcast image is that of the camera with the Snapchat selfie filter.
You can change the selfie filter from the Snap Camera app without stopping the broadcast.
Use the Snap Camera extension on Twitch
Twitch already has an extension within its platform that allows viewers of broadcasts to unlock achievements worn by streamers during a broadcast. The extension shows users the Snap code for each effect.
How to Stream Live Video on Twitch with Snapchat Filters | Snap camera" src="/images/posts/dee36c1e5af47cbf6543ad410b64b842-1.jpg">
In addition, users have the option of activate filters special if they subscribe to their Twitch channel. A goal can be changed for each membership level.
Configure the Snap Camera extension
- You need to have previously installed the Snap Camera application on your PC.
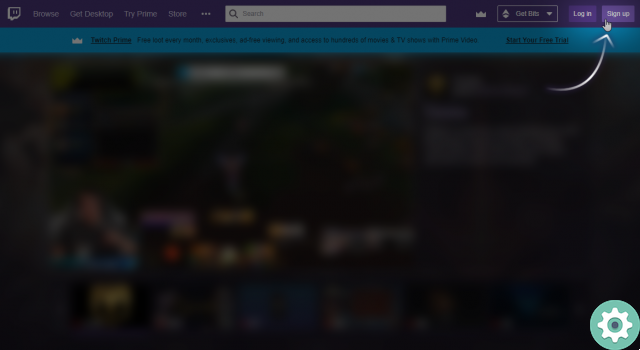
- Open Snap Camera and click on Twitch button, located at the top right.
- Log into your Twitch account and grant it permission to use Twitch with Snap Camera.
- Install the extension Snap Camera. As soon as you finish the previous step, they will automatically prompt for installation.
- From the extensions section activate the new Snap Camera extension so that it can work. Select the Enable option in component 1.
- Select where on the screen to place the Snap Camera extension. Note that the extension must be placed in the same spot as you place your webcam image.
- Save all changes made and everything is ready to broadcast with the extension Snap camera.
Snap lenses are currently one of the biggest attractions the platform currently has. It is a strategy that is meant to revive the old days of snapchap e retain the users with its Selfies filter technology, which is undoubtedly of excellent quality.
TagsContrazione