When making a request to the command, it returns a response according to the parameters set in execution. It also serves a measure the range of a network and check the path of a packet to reach its destination on the network.
Successfully enable Ping on Windows Server
The Windows Firewall is the security tool that the operating system defaults to prevent malicious attacks from hackers or any other type of threat that compromises the information on your PC.
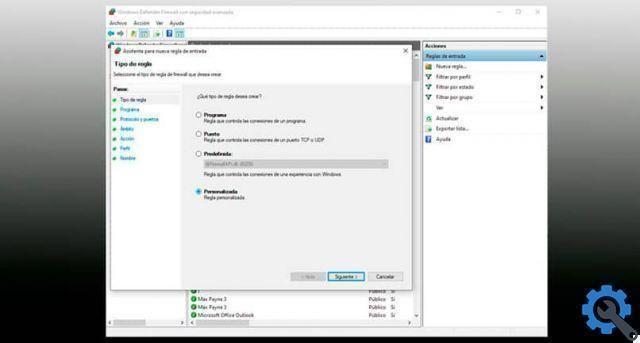
While it is a very useful and ultimately necessary tool to protect your PC from any attack, it needs to be configured to allow Ping requests. IS need to create a new rule in the firewall to accept ICMP packets.
- Enter the Windows firewall. You can access the firewall from the Control Panel by clicking on the System and Security option and then on Windows Defender Firewall.
- An easy way to get to this path is to type Firewall.cpl in Windows Finder (Start + S).
- Select the option Advanced options from the left panel of the firewall .
- The Windows Defender Firewall with Advanced Security window appears. Now select the option Rules in entrance.
- There is a new panel on the left with ticket rule actions that you can do. click on New rule.
Create a new rule in Windows Firewall
The rule wizard runs to make the respective configuration. The first thing to do is to choose the type of rule. Select the Customize option and press the Next button.
Choose which programs the rule applies to. In this case selected it applies to all programs and again we click Next.
Select the protocol. Configure the protocol type for which this rule will be applied, you need to select ICMPv4. Then select the Customize button to enable only the Echo prompt to continue to the next step.
Select the local and remote IP addresses. You have to choose which IP addresses this rule applies to. You can leave the default options and allow any IP address. It will depend on your security needs and determine which IP addresses can Ping the request.
Define the action to be performed. The next step is the type of response that will be shown when executing the Ping command. In this case, we select the Allow connection option and click Next.
Specify the profile. It is a security level that allows you to filter the type of profile that will have access to the rule. If it is a domain, it applies to computers connected to a corporate domain, Private for computers connected to a private network such as a home and when connected to a public network. Select according to your needs.
Finally, enter the name of the rule and description. Click the Finish button and Ping will be configured on Windows Server.
When to use the ping command
The Ping command is very useful for carrying out activities related to the network management and support, as well as to check the status of a connection.
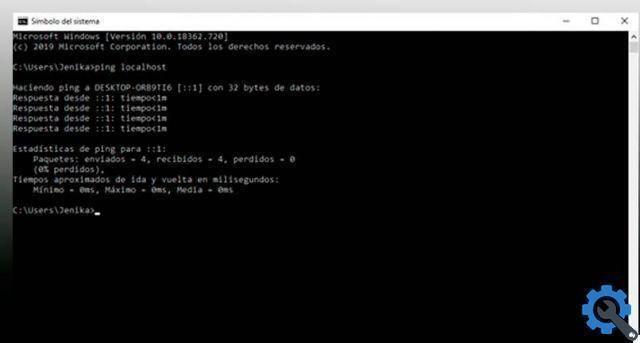
- Check if a PC is available on the net
- Check the connectivity of a network
- Determine what the IP address of a domain is
- Validate latency between two PCs or two IP addresses


