I have a capture module or tool that allows you to make your Mac screen of paramount importance, since currently the pictures are a fundamental part of everyday life.
Therefore, if you have a tool that allows you to take screenshots, you will be able to save any type of information displayed on your Mac computer monitor for posterity.
With that in mind, we will show you the ways that exist and that you have on hand for take a screenshot on your Mac computer so quick and easy.
Ways to take quick screenshots on Mac OS
Screenshots or screenshots are one of the most useful tools for save in image format any window open on your Mac computer. Therefore, it is essential that you know the different quick ways by which you can save a screenshot on your Mac OS computer.
Using the basic functions of my keyboard
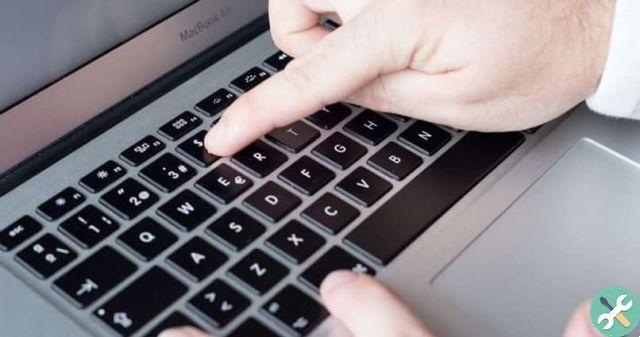
One of the easiest ways to take a screenshot on your computer Mac it is via the commands available for this purpose on the computer keyboard.
Therefore, in case you wish quickly save the screenshot, you have to press the keys at the same time Shift + Command + 3 to take a screenshot of the entire window you are in. In case you prefer the capture to be saved to your computer's clipboard, you just have to press the keys simultaneously Shift + Ctrl + Command + 3.
On the other hand, if you want to get a screenshot of only a certain area of a window on your Mac, you have to press Shift + Command + 4 on your keyboard. When you do this, a cross-shaped pointer will appear that will allow you to delimit the area you want to capture on your screen freely or by window. For free selection, you need to press and hold the space bar while choosing the area to capture. To finish, you just have to release the mouse button and the capture will be saved automatically. Awards Esc if you want to delete the screenshot.
With the help of the Touch Bar on my MacBook
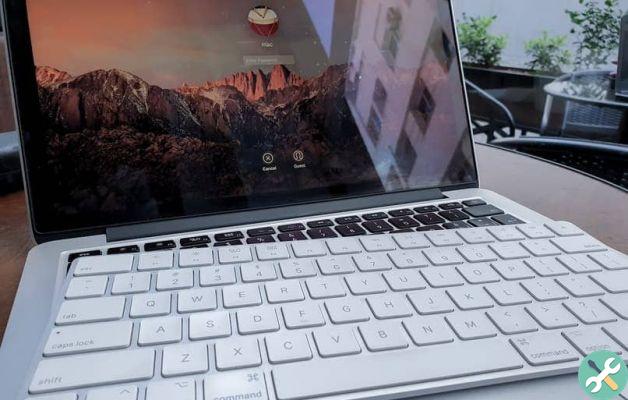
Another method to take a screenshot from your Mac computer is to press keys Shift + Command + 5 in combination with the touch Bar (located at the top of the keyboard) to navigate between the different options and types of screenshots.
This menu allows you to acquire one screenshot completo, mark only a specific part of the screen or acquire windows individually. You can also perform screen recordings using the Touch Bar, among other special options.
The functions vary depending on the task you want to perform and the application currently open. Similarly, you can activate the “Screenshot” commands available in the Touch Bar directly dal Launchpad.
Using apps to take snapshots
While having Mac keyboard shortcuts or combinations to take screenshots is a useful tool, it can sometimes be tedious for some to have to memorize these commands. In this case, you can integrate a program on your computer that allows you to take screenshots, or use the ones that are already built into your Mac.
It is the case of Grave o Snapshot, That is a previously integrated program on Mac OS computers of any version. To enter this program you have to open the 'Finder' and then 'Applications'. Now, in the “Utilities” folder you need to locate and select the Grab / Snapshot program.
Once there, to take a screenshot of any window on your Mac, you have to select the "Capture" option which appears in the program menu. In this way, a series of options will be shown so that you can choose the one you prefer when capturing the view of your screen.
Where to find the screenshots of my computer
This is one of the most frequently asked questions by those who take screenshots on a Mac computer. Once the screenshot is captured, there is no indication of where the product image file to find it later.
After capturing the screenshot on your Mac computer, whatever method you prefer to use, it will automatically be saved in the local storage. You can find all the screenshots taken on your Mac desktop.
Likewise, these screenshots have the exact time and date they were taken in the filename. Also, the screenshots you take on your Mac computer will be saved in PNG image format.
On the other hand, we recommend that you group the files on your Mac desktop in a stack, so that it is easier find the screenshots you took. Keep in mind that if you scan on a regular basis, your desktop is likely to fill up regularly.
How to customize my screenshots
The Mac computer operating system is very versatile and offers a multitude of options to configure certain system actions, such as screenshot settings. Using an integrated application, ' terminal ', you can enter codes to change some predefined parameters of the screenshots.
To access "Terminal", open " Find "And go up" Applications “, Where you will find the“ Terminal ”option. From there you can enter special commands for modify aspects of the system that are usually configured by default.
Customize the name of the screenshots
The names that the system uses to store screenshots follow a nomenclature which includes: 'Screenshot' + creation date + exact time. Using Terminal, you can change the default name and replace the prefix "Screenshot" in all captured screenshots.
The code you need to enter is: defaults write com.apple.screencapture name "See how it's done." Replace the contents in quotes with the name you want to insert in the output images and press “Enter”. Set the change without restarting the computer using the following code: killall SystemUIServer.
After pressing 'Enter' again and you will have successfully customized the name with which the captures are saved on your Mac computer. It should be noted that this procedure it does not remove the time and date data from the name, it modifies only the first part of it. To remove this data, you need to manually change the properties of the file.
Ways to adapt the screenshot format
The default format used by Mac computers to store screenshots is PNG, a lightweight file type that takes up little space. However, there are times when it is convenient to use another format to save screenshots.
In Terminal, the code you need to enter to adapt the output format is: defaults write com.apple.screencapture type. Finally, add the extension of the format you want to apply. The system is compatible with any format you need to use.
To go back to the default format, you just need to re-enter the same code and add at the end: png. In a simple way and in a few steps, you can configure the format of your screenshots without complications.
Change the location where the screenshot was saved
If you tend to take screenshots often, your Mac computer's desktop (the default folder where they are saved) may get flooded quickly. To avoid the hassle of moving images to another folder, you can change the default storage location.
In Terminal, enter: defaults write com.apple.screencapture location. Then, place the path where you want to save the screenshots and press “Enter”. If you want the change to take effect immediately, add the code: killall SystemUIServer. To undo the changes, use the first code that points to the desktop as the preferred location.
TagsMac




![Apple Vice Presidents Talk About Development of M1 for Mac [Updated]](/images/posts/c6254b668e5b3884d6b6338ccb8a02ff-0.jpg)
