Do you want to see and create a shared photo album on your iPhone? Well, you are in the right place. Here we will teach you how to share it with friends and family with a simple step by step. But before you start, you should realize if you have enabled the shared albums function.
- First you need to go to the iphone phone setup.
- Then you have to press your name.
- Then press iCloud
- Select the photos.
- In this screen you will have the option to enable shared albums.
Very well, once this is done, you just have to go back to your photos to start creating your album shared photo on the iphone, you can also have photo albums with other applications such as shutterfly, with which we teach you how to have them.
Create shared photos on your iPhone
As a first step you should go to the top right and click on select and choose which photos you want in your album and share. Once you've done the previous step, you need to click share icon which is located at the bottom left. Now go to the shared albums, in this step you can add a comment about your photos.
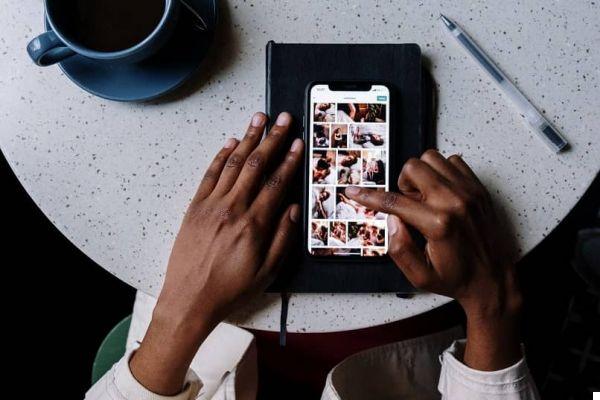
Then click on shared album, now click on + name the album and click on Next. Now you will have the possibility to choose among your contacts with whom to share this album via email.
Press Next: Once this is done, the your album will be ready to be shared, press the corresponding option and you will just have to press Public. Those who have access to your photos will be able to comment on them, indicate which ones they prefer and add their own.
How can you view your shared photos on iPhone?
It's very simple, you just have to click where it says; for you. To see the updates in the activity channel. There you can see your albums and add new photos if you hit the Add icon. You can also change access to the album if you hit the people option. Too easy.
Did you know that you can organize your iPhone photos with iCloud?
If you can get it from your mobile app in just a few steps, you need to create a smart new album first, as you can set conditions. Start by entering your album name.
Now, once this is done, any photos that are not saved in any album will automatically appear in this album. You should start cleaning said album and directing each of the photos to where they belong and if you just don't want a determination, you just have to delete it and that's it.
Also, another feature of the app is that you can make some of your photos as favorite by making them your favorite photo only album. This is very useful when you have very similar photos that allow you to tag the ones you like the most. Done that , you can also sort your albums by name, year and type. This way you have a more organized way of your favorite photos.
And if my iPhone memory is full, what can I do?
To know what storage level you have, you first need to go to settings, then to general. There you will find the iCloud storage option, where the storage level of your mobile and your photos will be displayed.
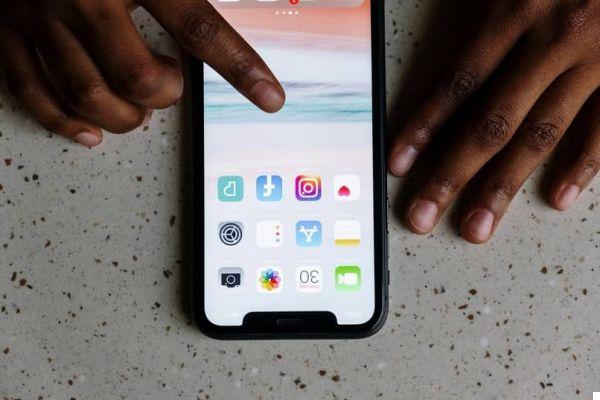
Now, click at the bottom where it says manage storage. Normally, what takes up more space than photos, so we recommend that you download the photos from Google and upload them to the cloud, which will allow you to have your photos safe but without having a lot of space on your device.
We hope that the information provided today will be very useful to you, where you can manage your photos and share them with your loved ones and friends from yours iPhone. However, if it is impossible for you due to space on your mobile, we also teach you how to free up such space on your mobile. Don't forget to tell us your experience and share it with your loved ones.


