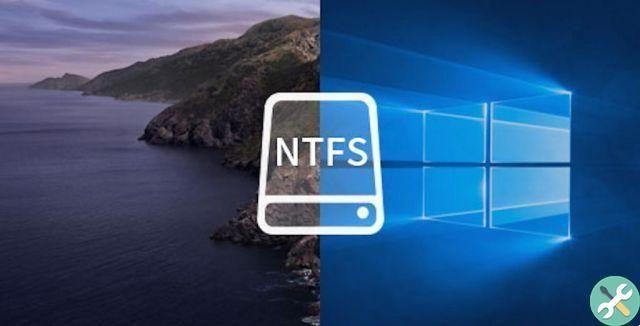
Cross-platform compatibility has been one of the main drawbacks for all those who, using Mac, have to live with Windows computers and work on disks designed to use that system.
The NTFS file system is one of those obstacles that stand in the way of users of Apple-made computers from time to time, as every time they try to copy a file to a disk that uses that file format, they get a message that this volume is not can be written.
In fact, if you buy an external hard drive to use as a backup, it may come with the NTFS format from the factory, so you won't be able to write anything to it. That's why the first thing you need to do is format it to make it compatible with your Mac.
As long as you have an NTFS formatted hard drive, you will not be able to edit, rename, copy, paste, delete or create files on it.
What is NTFS
NTFS (New Technology File System or New Technology File System) is a file system that was first released in July 1993, when it was included with Windows NT 3.1, and has been retained in Windows NT 3.5, Windows NT versions 3.51, Windows NT 4.0, Windows 2000, Windows XP, Windows Server 2003, Windows Server 2008, Windows Vista, Windows 7, Windows 8 and Windows 10).
According to Wikipedia, there are several versions of NTFS: v1.2 on NT 3.51 and NT 4, v3.0 on Windows 2000 and v3.1 on Windows XP, Windows Server 2003, Windows Vista and v5.1 on Windows Server 2008, and that Microsoft has included improvements and refinements in the file system. These versions are sometimes called v4.0, v5.0, v5.1, v 5.2, and v6.0, depending on the version of Windows they were included in.
Theoretically, the size limit of a partition in NTFS is 16 exabytes (17 billion TB). However, the physical limit of a disk is 2TB, so to increase that capacity you need to add several clustered disks (have them read to the system as one disk when there are actually several attached). Using NTFS is not recommended on systems less than 400MB.
Microsoft never released the code for NTFS, so it's still a proprietary file format.
Note: If you want to have a macOS and Windows compatible hard drive, format it as exFAT. If you will only use it on Mac, you can use Apple's formats: APFS or HFS +. If you want it to be compatible with all platforms, formatting it as FAT is the solution, but remember it has a file size limit of 4GB, so if you want to include multimedia projects (videos, music, presentations, image processing, etc ...) you may encounter problems.
Can macOS read NTFS disks?
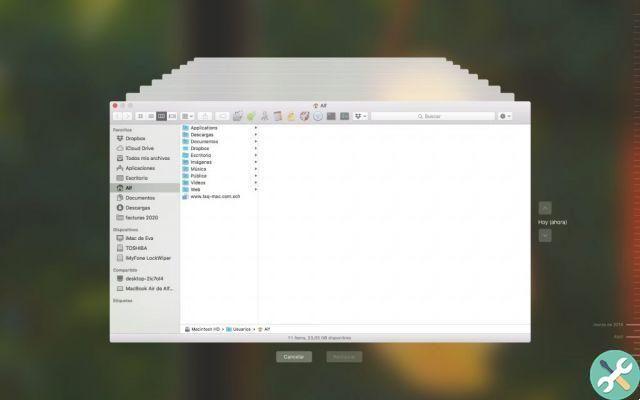
By default, macOS Disk Utility can mount NTFS disks in read-only mode, which means you can open files located on that hard drive, but you won't be able to save changes or other versions on that same hard drive (this one situations that most baffle new macOS users, since they don't understand what's happening).
This means that a co-worker or friend can pass files to you so that you can work with them, but when you want to save the changes you will have to do it on a different disk, in order to return their original disk plus yours where you saved the changes. files in the ones you have worked with. The excuse that there is no confusion is very useful to avoid having to explain this (in) capability of macOS.
Can macOS write to NTFS disks?
Fortunately, in a world dominated by Windows computers (and therefore using the NTFS format), technological progress has come to our aid, and there are several ways to force our macOS to "speak" NTFS and be able to write to those records.
The first method is to use the Terminal, even if it's not for the faint of heart. Before doing anything with the Terminal, make sure you have made a backup copy of all the contents of the hard disk, because a mistake in writing commands can leave you without access to the files.
- Step 1: Go to Applications> Utilities> Terminal to open the program (by double clicking on its icon).
- Step 2: Type sudo nano / etc / fstab to edit the fstab file (enter the password when prompted). You will not see a confirmation message for the correct password.
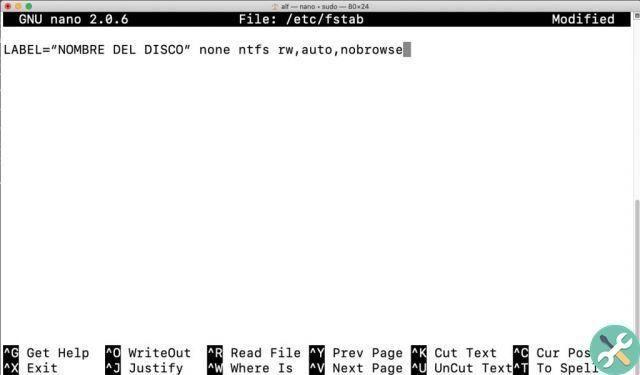
- Step 3: Type LABEL = “DISK NOMBRE” none ntfs rw, auto, nobrows in the fstab file edit window and press “Control + O” to write. (You need to change DISK_NAME to your NTFS volume name).
If you have multiple NTFS disks you want to write to, write the instruction (changing the disk name each time) as many times as there are NTFS disks you want to enable.
Note: to enable writing to NTFS via Terminal we recommend that you change the names of the hard drives in one word, so that everything will be easier.
The second method is to install one of the free drivers out there, like Mounty, although they can cause problems that can't be solved or require a significant amount of user work to get them working, like Fuse.
The third method, which is the safest and the one that offers the most satisfaction to the user, is to buy a utility which exists on the market to manage NTFS disks connected to Mac. Among them you can find iBoysoft NTFS for Mac and NTFS Assistant, but there are many others. The benefit of paying for the software is that you are guaranteed that it will work well, offer much faster volume write speeds than free utilities, and that - last but not least - they offer technical support to fix any incident you might find when you use an NTFS volume on the Mac.
Microsoft NTFS for Mac, by iBoysoft can mount NTFS disks in read / write mode and allows the NTFS system to be compatible with your Mac. Also, you can try the NTFS application for Mac for free for seven days.
NTFS for Mac enables write support for NTFS volumes as soon as it detects that they have been connected. In this way, you can freely create, save, copy, paste, delete and edit files on your Mac.
Conclusion
Writing to NTFS disks using a Mac is perfectly possible. There are several options to choose from, from free NTFS drivers to Apple's support for activation to paid programs like iBoysoft's NTFS for Mac, which save you a lot of time and effort thanks to their fantastic reliability and ease of use.
If you need to use external hard drives to frequently transfer files between Windows and Mac, it is a good idea to format the NTFS volume to exFAT or FAT32 to make the drives compatible on both platforms.
The great advantage of programs like NTFS for Mac is that, once installed, there is no difference between using an NTFS volume or a volume prepared with a format fully prepared for use in macOS.


![Google also wants your Apple News [Updated] [2]](/images/posts/943dc0d8f28fcc4bc16fa30ed6d71f6a-0.jpg)


![Apple Vice Presidents Talk About Development of M1 for Mac [Updated]](/images/posts/c6254b668e5b3884d6b6338ccb8a02ff-0.jpg)