But before starting with this article we should first know what a DNS is, this is the acronym in English per Domain Name System. And through it you can know what the IP address of a specific domain is. So in this way we can find any site we type in the search engine.
How to change and configure DNS on iOS and Android? - Quick and easy" src="/images/posts/aaa0f590508ae4cf076e132687d52c11-0.jpg">
On this occasion we will know how to change and configure DNS in iOS and Android? Easy and fast. But it's convenient that you at least learn how to edit and configure DNS in Windows, MacOS, and Linux. If you are interested in knowing how this is done on these devices.
How to change and configure DNS on iOS and Android?
So, in order to search the web, there must be a synchronization between three important aspects that are. The DNS Client, this is installed on our devices and with which it makes the request. Then there is the DNS Server, which takes care of responding to the request and finally there is the Zone of authority where the domains are located (.net, .es, .com, etc.).
This synchronization must be done in an extremely fast time, we are talking about milliseconds. And the faster this process is, the faster it will offer us the page or site we are looking for. So if we have a Fast DNS, you already know what it would imply and that is why we can change it via applications or manually.
There are popular or well-known DNS, of which we can highlight Google 8.8.8.8 and 8.8.4.4, alternative DNS 198.101.242.72 and 23.253.163.53 - Cloudflare 1.1.1.1 and 1.0.0.1 - OpenDNS Home 208.67.222.222 and 208.67. 220.220.
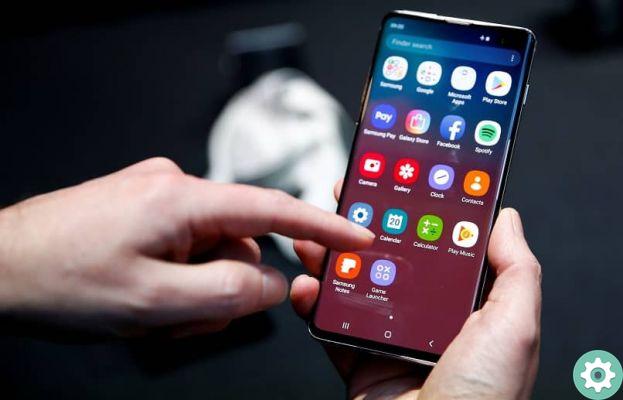
While it might not seem like it, change and configure DNS in iOS and Android it's a simple task and then we'll tell you what you should do. First we will start with Android devices and for that we will go to the Settings section. In this window we click on the Networks and Internet option, then we will go to WiFi.
Now in this section we will search for the name of the network used by our mobile and hold it until the menu appears. In it we will select the Modify network option, this action will generate more options to be displayed and we will select Advanced options. So we will choose the Static option in IP Settings.
The next thing will be to enter the google DNS number, this, we will do as an example you can use whatever you want most. So in the DNS 1 field we will put 8.8.8.8 and in DNS 2 we will write 8.8.4.4 and then click on the Save button. And that's it, in a very simple way we changed and configured DNS in Android.
How to change and configure DNS in iOS?
Now we need to do the modification and configuration on the devices that work with the iOS system and we will use Google's DNS again. Remember that you can use whatever you want from the list we have provided or you can find another one. To start this operation we will go to Settings, then in this window we will select WiFi.
Here we will see the network with which we connect from our phone and we will see an "i" next to it, we have to click on it. Then we will select the option Configure DNS, here in this section we will change the automatic mode to manual mode. Next we will select Add Server and write the codes.
How to change and configure DNS on iOS and Android? - Quick and easy" src="/images/posts/aaa0f590508ae4cf076e132687d52c11-1.jpg">
In the primary DNS we put 8.8.8.8, we select again Add server and now we write in the secondary DNS 8.8.4.4 and finally we will click on the option Save changes. And voila, we're also done setting up DNS on iOS devices. And so we conclude this tutorial that I teach you How to change and configure DNS in iOS and Android?


