


Three essential elements for installing a telephone on a rosette
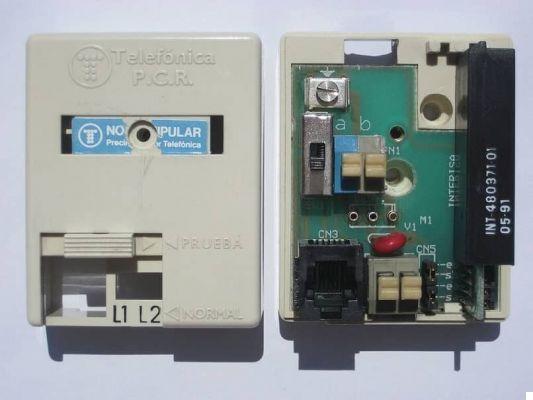
- A PTR (Network Terminal Point) or PAU (User Access Point). It should be noted that this is a two-wire parallel cable (two cables in one). The conductors are made of rigid copper with a diameter of 0,5 mm. The outer cover is usually cream colored, although it can also be found in gray, black or white. Sometimes it is incorporated as an electronic device, this has the advantage of delimiting the user with the operator installation and protecting him from overvoltages. Otherwise, you will find on the wall an output cable with the characteristics mentioned above.
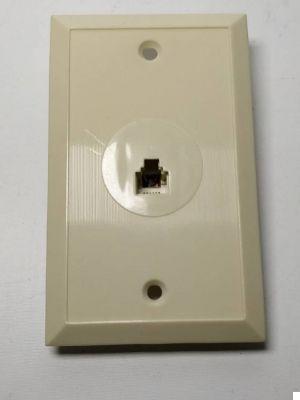
- A connection washer. It is nothing more than a grip telephone also known as BAT (Terminal Access Base). Its physical structure is usually square, made of plastic with a cavity to insert the cable RJ-11.
- The Telephone Cable. The RJ-11 cable is the one commonly used in analog telephone connections. This is what the connection between the telephone canopy and the terminal does. Of course, there are different types of network cables, each with its own advantages.
Test before installation
If you have one PTR installed, it's very simple. You just have to insert the RJ-11 cable into the rosette test and check if it has a line. However, if you don't have this installation, don't worry, you can still run the test.
You will do the following: unscrew the rosette, connect the telephone cable in the front. The inside of each rosette can vary. If you notice that it has no cables but a square indicating 4 points or grooves identified by a number, you will choose the 2 central points.
For example: If the label indicates this order 1,2,3,4 the central points are 2 and 3, if the sequence is: 2,3,4,5 i its central points are 3 and 4. In those 2 places connect the cable from the telephone company and you should listen if you have a line.
Now, if you observe that inside the rosette there are multiple colored cables attached to different screws, with the telephone company cable (which has 2 connectors), go to touch 2 screws at the same time and check that the receiver has a line. In general, brown and white or red and green are usually ideal combinations. Having this clear knowledge, we can install the telephone on the rosette
How to install the RJ-11 telephone connector on a rosette
- Once the 2 screws with the respective color, unroll each screw slightly.
- Make sure the telephone company wire has enough copper to wrap around each screw.
- In this step we proceed to wrap the cable around each screw and then roll and tighten the screw, so that they are well adjusted.
- With the cable well connected, depending on the canopy, we install it on the wall or simply close our canopy correctly. If we usually work with a lot of cables, you will be interested in knowing how to wrap and protect them to prevent them from getting damaged.
With this knowledge in mind, you will notice that installation is straightforward if you have the basic elements of installing a landline phone on a rosette. By carrying out this task you will have the ability and patience to face more interesting challenges such as assembling a computer in parts and setting it up from scratch. We hope you leave us your comments and share your experience in this interesting aspect.


