It usually happens that ours Smartphone, at the time of purchase, you start to slow down, either due to an application or automatically due to the files that are becoming obsolete, in these cases there are alternatives that allow us to return it to its old glory a little.
For this, it is useful to perform a hard reset, as this deletes all the information added by the user that is on the phone, be it photos, videos, music or any type of application, it should be noted that it is a good idea to make a backup on our device before deleting it completely, thus saving only the information that interests us.
How to make a backup before performing a hard reset on our Lumia 520?
If you decide to do a hard reset, you have to keep that in mind you will lose all your information, so as a first step you must make a backup copy of your Smartphone, for this you must first make sure that your device has enough charge as both processes may take some time and if the phone turns off, the full reset will fail and the system phone may be affected.
First you need to slide the screen to the left, a menu will appear in which we have to look for the option "configuration" and once here look for "backup".
Once here you have to select what you want to save, be it photos, videos or music, it should be noted that to do this faster it is recommended that you be connected to a WIFI network.

One process that you can also do is to save all your information on the microSD card, it is an option that you have to consider, once you have selected what you want to save you have to wait for the process to finish, the delay will depend on the amount of files that you saved.
How to do a hard reset on my Nokia Lumia 520?
When it comes to returning defaults to yours nokia device, you should know that there are two methods, one in which you will need the buttons and one in which you will not need them, furthermore, you should know that these terminals have a somewhat old version of Windows Phone and it is always advisable to know how to update Windows Phone .
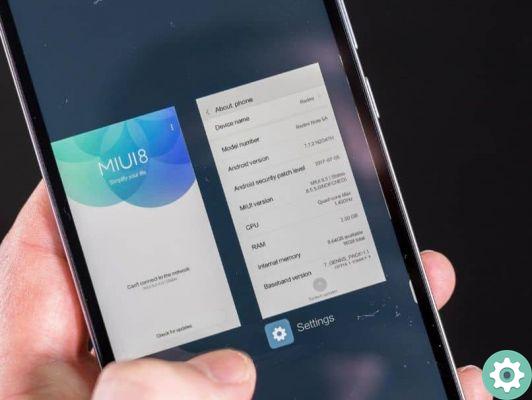
Once we have everything ready, we have to go to the settings section of our device, when we do we will see a list with all the options available in terms of configuration, almost at the end there is the "information" section, which refers to your phone data, here, in addition to being able to reset your terminal, you can get information on whether your phone was new when you bought it or not.
At the bottom of the screen we will see a box that says "Reset your phone", we will give it a tap and a notice will appear, explaining that the process will erase all your information.
After that, our device will reboot and start charging each of the system files and to install the default applications provided by this phone.
What to do after hard reset?
When your phone turns on and finishes loading boot information, it will ask for your details, email, password and will have a section to ask you if you have previously made a backup, in this case you have to say yes and enter your data account to to boot il process of data recovery.
This process is the same as you did when you bought the device, with the difference that you already have old data, this process will take some time and you also need to be connected via WIFI, to speed up the process, once finished, you will be shown the start screen and you can use it normally.
When doing this type of processing, many people go to the extreme of discovering their device, to use the internal buttons, this process if not done correctly can cause irreparable damage, and can even lose its protection against water, because the phone junctions carry a kind of hitch, which is responsible for blocking the passage of water in the event of an accident. .


