


What is BIOS or UEFI and why do you need to update it?
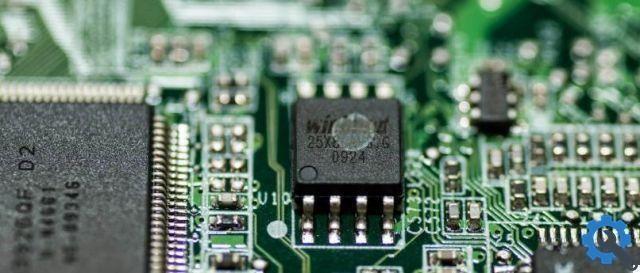
Before we get into it, you need to know that both the BIOS and UEFI are firmware, which is a piece of code that is stored in a separate memory located on the motherboard of your PC.
The firmware is responsible for starting up, configuring, and verifying that the computer hardware is in good condition. This includes the RAM, hard drives and motherboard or graphics card. Then, select the boot device and proceed to boot the operating system, giving it control of the PC.
With this in mind, the BIOS (Basic Input Output System) or Basic Input and Output System in Spanish, resided on the motherboard of the computer and began to perform its tasks from the moment the PC was started.
It was a chip or integrated circuit that stores a series of software routines within it that put the rest of the motherboard hardware to work.
Let's talk about BIOS in the past because this firmware was eventually replaced by the UEFI. The UEFI (Unified Extensible Firmware Interface) is actually the firmware after the BIOS. After so many years it was logical that it was obsolete. Therefore, several tech companies have come together to found this new firmware.
So the UEFI basically performs the same functions as the BIOS but improved and some new. For example, it has a much more modern graphical interface, a more secure boot system, a faster boot speed, and support for hard drives larger than 2TB.
It is necessary to update the firmware since it runs the PC card with a processor that previously could not be installed and also to solve accounting problems with some types of hardware with memories or cards.
If you still don't know how to enter or access UEFI BIOS settings in Windows 10, please click this link.
How to update BIOS or UEFI?
With the above in mind, it is necessary to update the UEFI, however, it should not be done unless it is really necessary as any wrong step could lead to the computer at the end of its active life.
Step 1
Download the firmware from your device's official website.
Step 2
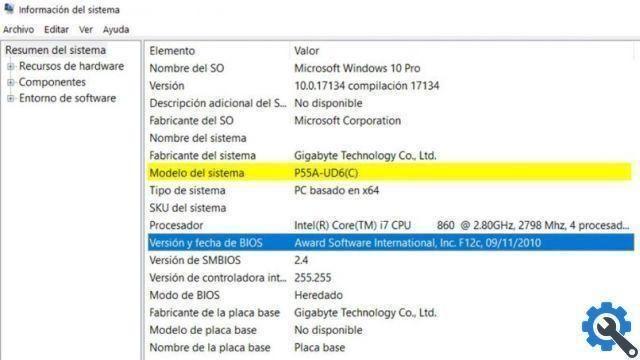
Enter the BIOS OR UEFI menu. For this you just have to press “Del” several times until the menu appears. There we will see the version of our firmware.
3 pass
With this information we can go to our provider's page and check if there is a later version than the one we have and if it is really necessary to update it or not.
4 pass
After verifying all the data and making sure that we need to update it, we need to access the manufacturer's website and in the technical support and downloads section we will see if an update is available.
5 pass
Once we see that there is an update, we will download it. This file is one ZIP with the ROM or firmware ready to be installed quickly and easily. If the file in the ZIP is an executable, we unzip and run it.
6 pass
Normally, unzipping and running it is enough to update the BIOS or UEFI. It is important that you close all programs that you have open before this as it may generate conflicts between programs.
7 pass
If the file is not executable, it must be transferred to a previously formatted pendrive. Then, you have to restart your computer, enter the BIOS or UEFI and with the pendrive inserted you will see the option "Advanced". Then a wizard will allow you to choose the drive where the downloaded file is located. All you have to do is select it, accept the process and download.
And then in these simple steps you can update the Bios, if instead you want to disable the UEFI of the BIOS of your Windows PC, keep reading this link.
You can learn other things like how to configure BIOS to boot from Windows USB or CD, in this article we will teach you.


