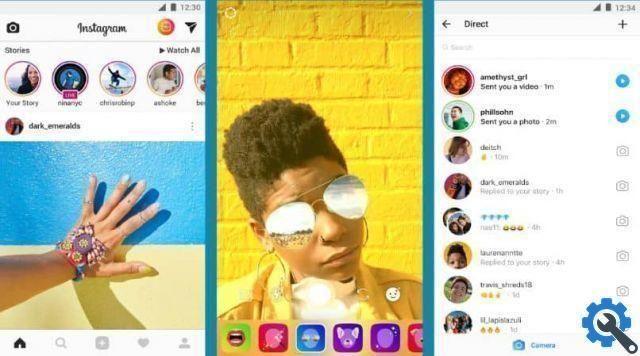
The platform Instagram is having great acceptance among many users due to the attractiveness of its interface. And to do this type of publication, we need to activate the camera of our device iPhone. But most likely, many will have encountered the problem of not being able to do this.
In order not to suffer from this little inconvenience anymore, we have brought you a tutorial that explains step by step how to activate camera access on instagram for iphone. To do this, you just have to do a little configuration to the settings of your mobile phone and this matter will remain as a bad memory, so we indicate what you should do.
How to activate camera access on Instagram for iPhone" src="/images/posts/02ec8e235a6dd3c1a45b40707e48891a-0.jpg">
How to activate camera access on Instagram for iPhone
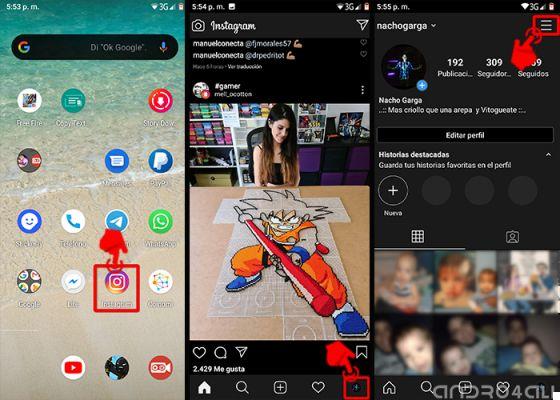
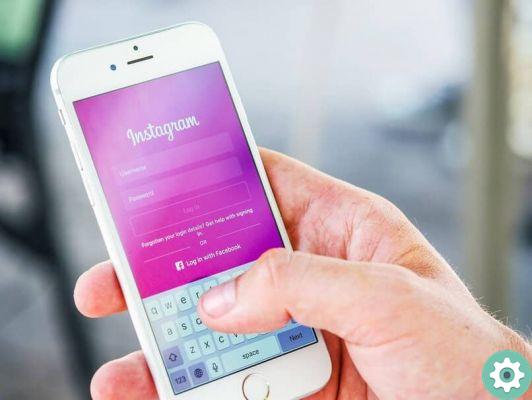
To activate camera access on Instagram for iPhone, you need to do the following, first go to the Instagram application and you need to start the session. You then need to select the camera so you can post your story. This is when you will receive the following Share on Instagram message.
And you will have two options that you need to select, the first option is Allow access to the camera e Allow access to the microphone. Selecting Allow camera access will take you to your iPhone's settings window. Here you have to select the slider icon which is on the side of the camera and slide it to the right for activate it.
You also need to slide the slider icon next to the microphone so you can turn it on too. In possible cases where you do not receive the Allow access to camera message, you need to follow the instructions below. From your iPhone go to settings, then select Instagram and finally camera and then microphone.
If you have already made these changes and for any reason you receive an error message, we suggest you perform the following steps. First you will go to Settings of your iPhone and then you will go to the General option. Being already inside this option you will move to the bottom of the screen and look for the Reset settings option.
Changes to your iPhone settings to access the camera
Pressing will take you to a new screen where you will find many different options, but you will search and select Reset location and privacy. A pop-up window will appear immediately with the following information. The original location and privacy settings will be restored, as well as the reset and undo options.
In this case you will select the Reset settings option and now you have to go back to the Instagram platform and start the session. And now you need to activate the camera so that you can add a photo to your post. Similarly, it will ask you to perform the operation that we have explained to you before and you will have to activate the camera and microphone.
How to activate camera access on Instagram for iPhone" src="/images/posts/02ec8e235a6dd3c1a45b40707e48891a-1.jpg">
This time you will realize that by carrying out this activation, your camera will work correctly and you will be able to upload images from your iPhone without any problem. Best of all, you can upload more than one photo to your Instagram Stories. Remember that you must also activate the microphone otherwise you will not be able to use the camera. And in this way we have shown and taught you how to activate camera access on instagram for iphone.


