


Microsoft Visio is an excellent computer tool that makes it easy to create and design vector diagrams and drawings. It is very useful for creating mind maps and diagrams quickly and easily. And for brainstorming it is a very effective tool, since it allows you to schematize ideas and organize them easily.
Here how to draw a brainstorm diagram in Visio step by step while your colleagues brainstorm. While this application is not useful for you, you can also try to create a professional outline in Word to organize the approaches you find relevant.
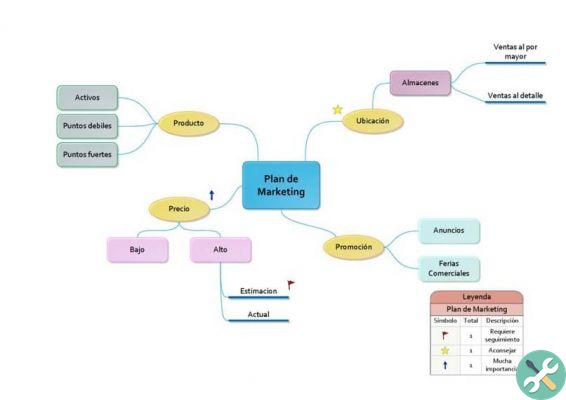
Create a brainstorm diagram in Visio
To get started, launch Visio and, on the template's category page, click 'Company', then click 'Brainstorm Diagram'. Finally, click on the "Create" button. Also, you can start by going to the “File” tab, selecting “New” from the menu, then “Company” and double clicking on “Brainstorming Diagram”.

This will open a file with a blank page where you can start drawing your diagram. On the left side you will have a panel with all the elements necessary to structure your brainstorming. You can drag each element that matches the drawing area and edit it as you like.
A brainstorm diagram begins with a main topic in the center of the page. From the "Brainstorming Shapes" panel, drag the "main topic" shape onto the blank page. With the shape selected, type the text that represents the main idea.
Next come the child topics which will be related to the main topic but subordinate to it, similar to how you would make a mind map in Word. To add child topics, select the parent topic module and in the "Brainstorming" tab, in the "Add Topics" group, select “Add Child”.
To add multiple subtopics at the same time, in the "Brainstorming" tab, select the "multiple subtopics" option. With this, a dialog box will appear where you can write the new arguments, by pressing the ENTER key between each of them. Finally, click "OK".
Add ideas and brainstorm them
After you have a basic outline with the main topic and the most important subtopics, you can start insert ideas subordinated to the different subtopics. Remember that each idea can be at the same level as a topic or can be in a hierarchy below this.
For this, select the topic to which you want to add subordinate ideas. Then, go to the “Brainstorming” tab, in the “Add Topics” group, click on “various subtopics”. Several new modules related to the selected topic will be created, where you can write the ideas in question.
Therefore, as more ideas arise in your work group, you can add different subtopics and organize them correctly in a simple way. Remember that when adding a new idea you need to be clear if it is at the same level or subordinate to another. Hierarchical ideas are also important if you use CmapTools to create concept maps or other schemes of this style.
Therefore, in the "Brainstorming" tab, under "Add Topics", you must correctly select between "peer element" or "child topic". Thus, you will be able to see the correct hierarchy of ideas.
Visio, on the other hand, allows you to modify and configure the different shapes, themes and ideas quickly through the context menu, which you can see by pressing the right button and selecting a shape. In this menu you can change the font, shape style and even add other ideas.
You can also add graphic icons that you can place next to certain ideas to highlight their importance, urgency, or some other call to attention on the subject. There are many options available to personalize your brainstorming in a unique and creative way.
Take advantage of all the tools Visio offers you to create organization charts, schedules, calendars, charts and much more. This way you can facilitate your business, group or personal planning work and make it more dynamic and flexible in a few simple steps.
TagsTutorial


