Apple shouldn't sell any Macs with a mechanical hard drive. No manufacturer should sell computers with a mechanical hard drive. Never buy a computer with a mechanical hard drive at this turn of the century, at most you might want to consider a Fusion Drive. Having clarified this point ...
Macs with SSD hard drives are equipped with ultra-high-speed drives, which makes them more expensive than usual, so they have very little storage space while the storage of our iOS devices is on the rise. So we can easily find that we have a Mac with a 256GB SSD and an iPad with 256GB of storage. What if we want to make the backup copy on our Mac? That we devour all the space on the Mac hard drive.
Why should we backup on our Mac? Because it doesn't take up storage space in iCloud. Also, copying and restoring are faster because they are done locally. Plus… you can make it encrypted and securely stored on your Mac.
To avoid taking up space on your Mac, you can copy to an external USB drive as it was done in the days of our grandparents (see here) or do it on a NAS.
Use your NAS
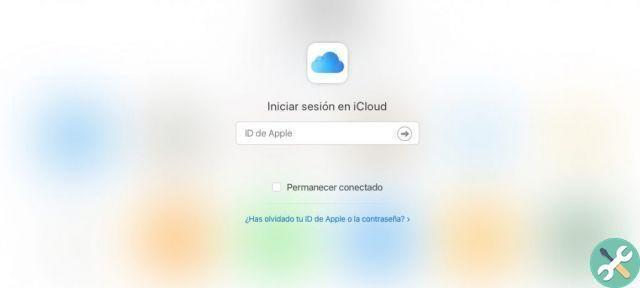
1º Prepare a folder inside your NAS to which only you have access and mount it on the Mac. You can do it in the Finder with ⌘k (menu go> connect to server…). Suppose the disc we assemble is called "my disc".
If you want to keep your current copy (if you are starting from scratch you can skip the next two steps).
2nd Copy the “Backup” folder found ~ / Library / Application Support / MobileSync / to the destination hard drive. This will save the current copies. You can access it from the Finder by pressing Go (pressing Alt while clicking the Go menu) and accessing the Library menu.
For example, inside the disk I just mounted in step 1 and called “my disk”, I create a folder called “iTunesBackup” and inside I copy the “Backup” folder that was inside MobileSync.
3º Rename the original “Backup” folder with any other name. For example "old backup". So we will delete it when we see that everything is going well.
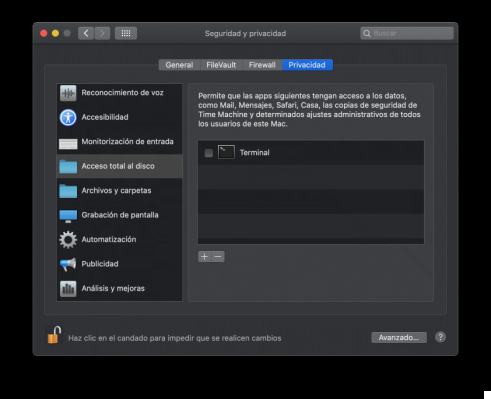
4th We will generate an alias with the terminal, but in the latest versions of the system it gives problems, so we have to give it full access to the disk. Go to System Preferences> Security & Privacy> Privacy> Full Disk Access and add Terminal. To do this, click on the one below and look in Applications> Utilities.
5th Generate an alias called "backup" in the folder where the old "backup" folder with the backup copies was previously.
Terminal:
ln -s / Volumes / midisco / iTunesBackup / Backup / ~ / Library / Application Support / MobileSync / Backup
An alias will have been generated (you will see this because it has a small arrow on the icon).
Now backup as usual.
Hopefully you can delete the "old backup" folder to recover all that space. You can also remove full Terminal disk access.
Warning: copying will be slower than what you are used to.
Copy security
Remember that if you want the copy to be secure you have to activate encryption and put a password on it, but be careful, if you forget the password you will never be able to recover that copy.

Also, if you encrypt the copy, data such as passwords, Wi-Fi you have access to, health data will be saved… which would not be saved if the copy was not encrypted.
To enjoy that free space.