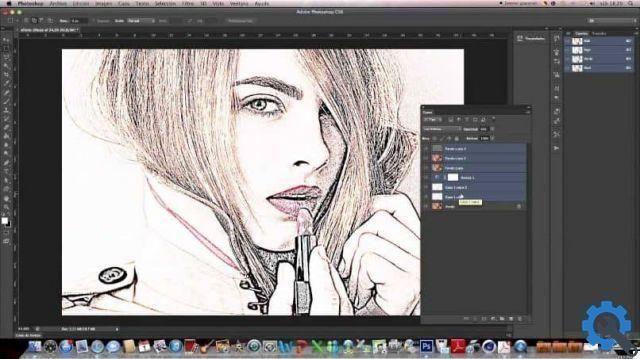
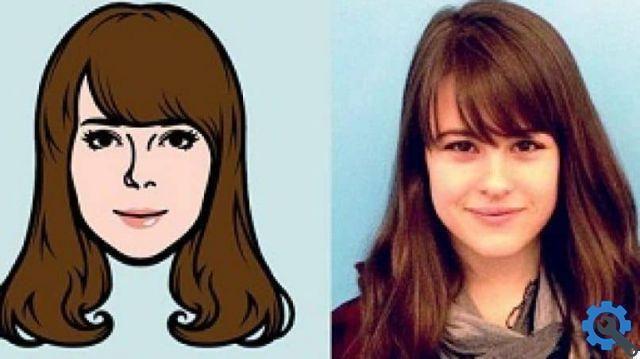
Even if, actually, make 3D effects or cartoon effects on your photos can take a long time and the person doing it has the necessary knowledge and experience. But here in this tutorial we are going to teach you a very easy way to do this effect in less than 5 minutes with the use of one very practical tool.
This program is extremely easy to use and you can make amazing edits and edits like changing color, lightening the skin or removing objects and people from a photo. All this very quickly and easily and without investing long hours of work. And then you will learn how to convert a photo or face into a caricature in Photoshop, quickly and easily.
How to turn a photo or face into a caricature in Photoshop
Using a tool called a Pen. With it, you can make a caricature with all the photos you want, but yes, they must have excellent resolution, with sufficient detail and have well-defined facial features.
To start and turn our photo into a cartoon, we must first open the Photoshop program. After that, we will search in the files on our PC for the photograph we are going to convert, select it and create a clip in the Open option. This action will make it appear in the program.

When we have the photo, we need to select the Pen tool. We will find it in side menu located on the left side of the window. Since we have to work precisely with the outline of the image, we need to zoom in order to have a better view and detail of the outline.
Using the selection pen tool and the fill layer
Now start outlining the entire outline of the image, as we have already told you, you have to be very precise. This depends on whether yours cartoon is very professional, tries to outline the contour of the ears, the area that joins the hair with the forehead. Only outline the skin, if there is a shirt or blouse, only outline the junction between the skin and the fabric.
After you have finished performing this operation, you need to press i Ctrl + Enter keys, this to transform into selection. Then, with the edge selection tool, we go around the entire outline of the hair so that the union of the skin and hair can be shown more cleanly.
In the parameters of edge radius, edge offset, smooth, we adjust so that the edges can be cleaner. You should have the last word at this point, so that the image has the best possible detail. When you are done, we will cut out the Ok option, now we will select the option to create a fill layer.
This is located in the lower right part of the window and when creating a clip, several options will appear and we will choose the uniform color. In this section we will choose the skin tone that best suits the one in the photo. Once this is done, we will create a clip in the Ok option, now we will do the same but with another color.
We select the pen tool again and select the areas with shadows, the outline of the chin, the neck, the eyes, etc. now we will create a fill layer and choose another color, now we multiply in the blending mode of the gray color. And let's lower the opacity and repeat this procedure with other areas of the image.

And finally with the quick selection tool we select hair and then we select the edges and apply fill level again. And for the eyes use the selection tool, make two ovals and then fill them with color.


