


Corel Photo Paint is one of the tools that Adobe puts in your hands to facilitate the editing of your photos, here we show you how to easily place a light effect.
The effect of the overlapping lights can give a more professional and sometimes funnier touch to your photos, learning how to do it is essential.
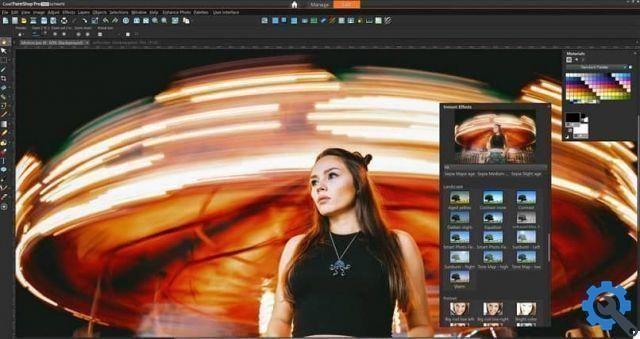
If you want to experiment with your photos, the Corel Photo Paint program is the right one for it. This program has a large number of effects that will give your photos a unique touch, whether you use this tool to fix your photos or you want to give it a new approach with effects such as motion blur.
What should you do to place a light effect?
The first thing you should do is choose your image and get an idea of the lights you want to place and, of course, have Corel Photo Paint installed.
Once you have opened the project, we recommend that you say copy the level, to avoid making permanent changes, so you can try different things.
Opacity of the copied layer
In the copied layer you will start working, adapting hue, saturation and brightness in so that the colors appear a little duller.
Create your lights
Open a new layer completely from scratch, here you will start adding lights, you can do this procedure repeatedly to add more lights or you can do them all in the same layer.
Smart filling
Continue to use the tool " Smart filling “, With this you will add the lights, start by selecting the tool, you will get it on the left side of the screen, usually in the bottom corner.
Now click on " Change fill You will find it at the top of the toolbox, once this menu appears, you need to change the fill color.
You have to use a strong color and white, you also have to raise the transparency level of the color, you can do it by clicking on it and bringing the item " Transparency "at 100% ".
If the color is not very visible, you can decrease the transparency a bit, so you will make it look better, you just have to set the shape of the fill, circular, triangular, rectangular, you have several options.
Find the light
Depending on the shape you have chosen, you should give a post to the light, position it so that it does not cover too much important points in the photo, such as a face.
Once you have chosen the place where the light will go, press " Apply ", Now you just have to change the blending mode of the layer where you placed the light and choose" Overlap ".
Repeat these steps several times, change the color of the layers and put the lights wherever you want, to give that awesome pop of color to your photo.
A risky but fun option is to work with the neon light effect, which gives you the opportunity to customize it to your preferences.
Add some sparkle
This step is optional, if you want to add some little sparkles to your photo, you can create a new layer and use the brush tool.
Select the type of brush that is most like the sparkles you want to add, place the highlights in the photo and then change the color to white and give it transparency.
Now you just have to change the blending mode to " Overlap ", Delete with the tool" Rubber ”The points of the flash that remained on the faces or focal points of the photo.
Some advices
Regardless of the number, we recommend that you use different layers for each color, in so you can change any detail without the risk of damaging another object.
Always remember to create a second layer of the initial photo before you give it the changes, so you can avoid damaging it or generating a change you don't like later on.

Play with transparency, giving the image more or less color to your liking, so you can focus on certain points or change a color within the photo. If you want to work with transparencies, you should also know about the different types the editor offers you.
Play with the details so you can find out different things to do and get one more professional finish For your photo, Corel Photo Paint offers you many tools, you just have to use them.
Finally, we hope this tutorial will be of great help to you and allow you to place a luminous effect on any photo without any inconvenience.


