


What are the advantages of Photoshop for making thumbnails?
To create miniature HD for our videos, we need an application to help us do it quickly. Photoshop modifies the graphics to satisfy this feature. In fact, it is one of the few tools we will use to do a thorough job with a good one graphic quality.
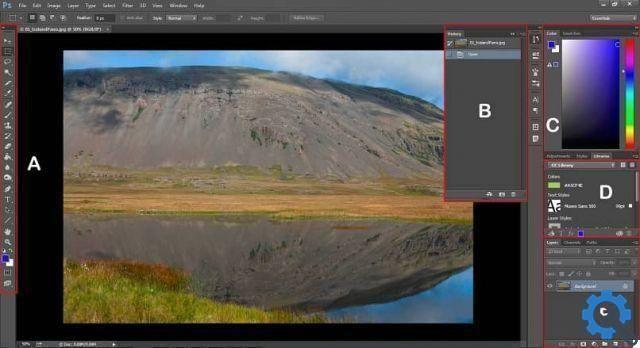
Photoshop is a ideal program for image editing, but you need to have some basic knowledge beforehand. For example, we need to know how to use the toolbar in Photoshop, as we will always use them. In addition to other essentials such as aligning and centering text, images and objects in Photoshop.
On the other hand, it is essential to know how to copy and paste layers, images and selections in Photoshop, because this will be the basis for making any text montage. Finally, it never hurts to know how to create and save an image in Photoshop without losing quality, since low-quality images are blurry and unpleasant for our subscribers.
What should I keep in mind when creating HD thumbnails for YouTube videos with Photoshop?
Logically you must have already loaded the (s) video on the YouTube platform for you want to create thumbnails. You also need to have the Photoshop Graphic Editor installed on your computer.
It is good that you know that in order to create HD thumbnails these images must have some characteristics. For example, they must have a large resolution: 1280 × 720 and the minimum width is 640 pixels.
The image format can be JPG, GIF, BMP or PNG and its size cannot exceed 2MB. Also, keep in mind that the scale should be 16: 9, as this is the most used in YouTube previews and players.
You may need a place that provides characters or letters to help you place different details and also a pxhere-like image archive or other free site.
How do we work with thumbnails in Photoshop?
Easy, having Photoshop displayed, in the menu section we open it and insert the width, the height and the resolution of the image. Remember 1280 × 720 and resolution of 72 pixels per inch.
On this tapestry we place the wallpaper Background image that we choose, at the same time we can place another layer in which we will add the text that we will place. You can try multiple image-focused tools to give it the style you want.

When you have finished your artwork, you will only have to save the image, in the formats we mentioned above (JPG, GIF, BMP or PNG) if you go to the File-> Save As menu. Ready! You have already created the HD thumbnail that you will mount on your YouTube video.
On YouTube, being in the video upload interface, you will see the section "Video thumbnail". Here you can insert your own image that you have customized. If you already have time with the edited video but you haven't placed the thumbnail yet, don't worry, you can give it "Edit" followed by " Custom thumbnail ”And upload the image.
As you can see, create HD thumbnails for your YouTube videos with Photoshop it's very simple. We hope we helped you with this post to figure it out. We will surely be one of those who will see your video when you entice us with that wonderful thumbnail you created.


