


The Word text editor turns out to be a very versatile tool when it comes to carrying out our study tasks or work schemes, for our thesis or any document we wish to create.
We will show you step by step how, without being an expert working with the Word text editor, you can create schedules. You will see that it is extremely simple and it is a matter of practice, like everything in life and becoming an expert.
Well, without wasting time, let's learn to create or create a business plan in Word.
How to create an activity program
To start explaining the steps to follow, we need to enter the Word program and select a blank document. We have to mention that the steps we will describe here are basic and easy to perform, which is why you can use it for other projects where you need to include tables.
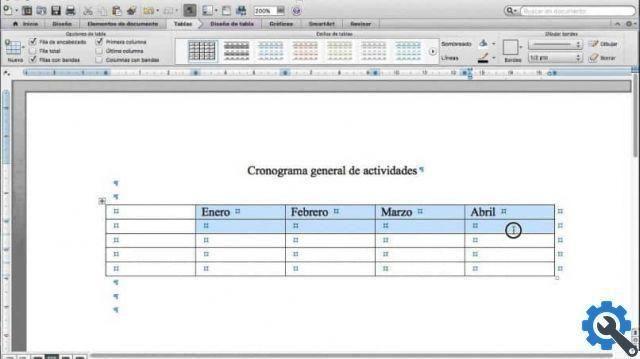
Well let's start, having our blank sheet go to the insert tab, if it is not fixed we can anchor it. Being in the insert tab, we create a clip in the table and we can select the number of rows and columns we want. There is also a tab that says insert table and you can enter the number of rows and columns that your table will contain.

After selecting the number of columns and rows, in our example we will choose 6 columns, as we want make an activity program from Monday to Friday.
And the number of lines will depend on the different activities you will be doing these days. Then in the first column we put the activities and in the following the days of the weeks.
You have to take into account that you can give a specific width to each column, this is achieved by placing the pointer on the line that separates each column and dragging. This way you can give the desired size to each of the columns, this will allow you to write all the information in each row.
This procedure can also be performed in another way so that the columns have the same width. We do this by positioning the pointer, just above the first column that we want to match, at this point we cut out, hold down and drag on the last column then release and everything is selected.
Then, I place the pointer on the shaded area and create a clip with the right mouse button, a small window will appear and we choose the option to place the width we are looking for. Some columns are larger than others or all have the same width. It all depends on how you want your schedule to look.
Emptying of information and modification to make the program of activities
As we have already said, we will do a program of the activities that we are going to carry out during the week. Having done this, let's now proceed to place the different activities that we are going to carry out and begin to empty all the information on our table. Now we can only place or indicate on which days of the week these activities will be carried out.
For this step, let's cut out the cell that corresponds to the activity and day of the week, then let's go up Table tools, then in design and we select Shading. A small color table will appear and we choose. So we can go to select, to make each activity coincide with the day or days of the week.
Another way to give our table an air of greater refinement to the design, will be by selecting the table, for this we will cut out in any area of it, a small box will appear in the upper left corner, we will cut out in that point and we will shade the whole board. Let's go back to Table Tools then Design and there you can choose the one you like best.
As you will see, your table looks more elegant if you want to make additional changes to your table measurements. You just have to select , go to Start, go to Paragraph and edit.


